 Since I received this beautiful (and large!) bottle of Riesling to try out from the good people at Sawmill Creek and BzzAgent, I wanted to do more than just sample it. I wanted to use it in a way that I haven't before. With my bottle of Autumn Blush I made a really delicious sangria (see recipe here) and thought I'd 'cook' something with this one. he Riesling is in the vinaigrette and you probably wouldn't be able to differentiate between using a Riesling or a Chardonnay, but the end result was delicious and I suggest that if you are going to make this you give Sawmill Creek a try. To see what I received in my Sawmill Creek BzzKit click here. Scroll down all the way past the pictures for the ingredients list and full directions. 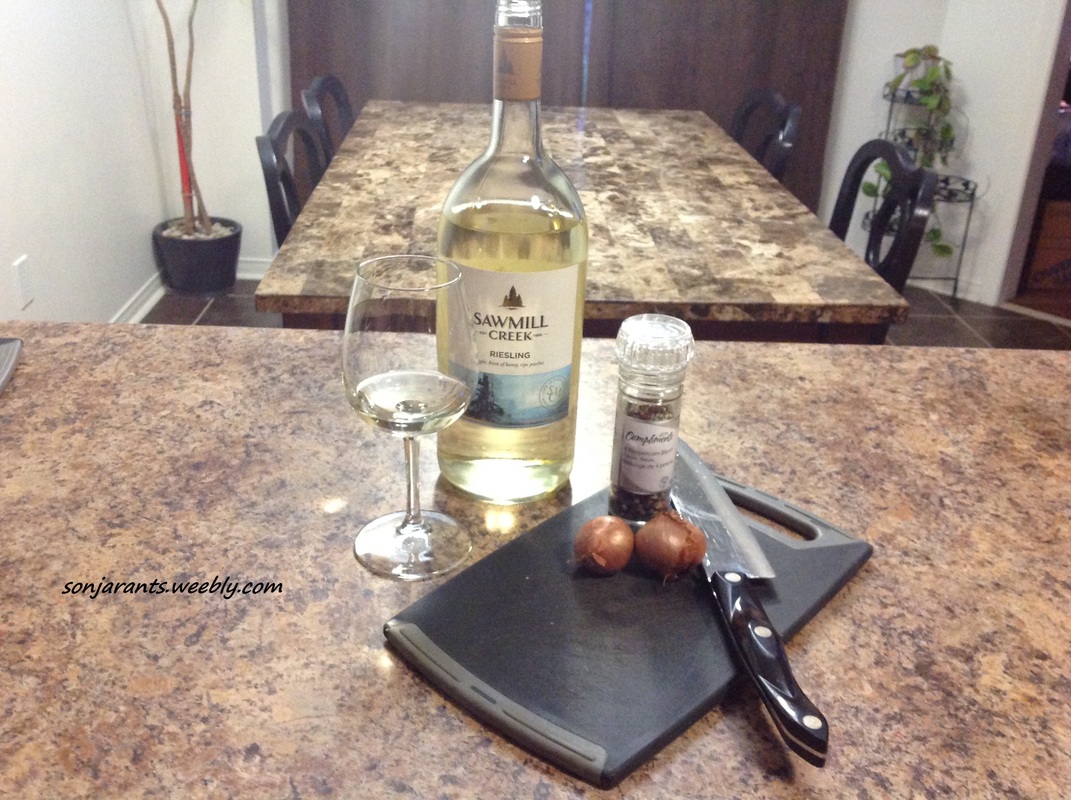 The first step is to make the vinaigrette - I wanted it to cool while I was getting the rest made. Slice up your shallot, grind some peppercorns and bring to a boil with your Riesling. Let it boil for about 15-20 minutes, until it reduces slightly. 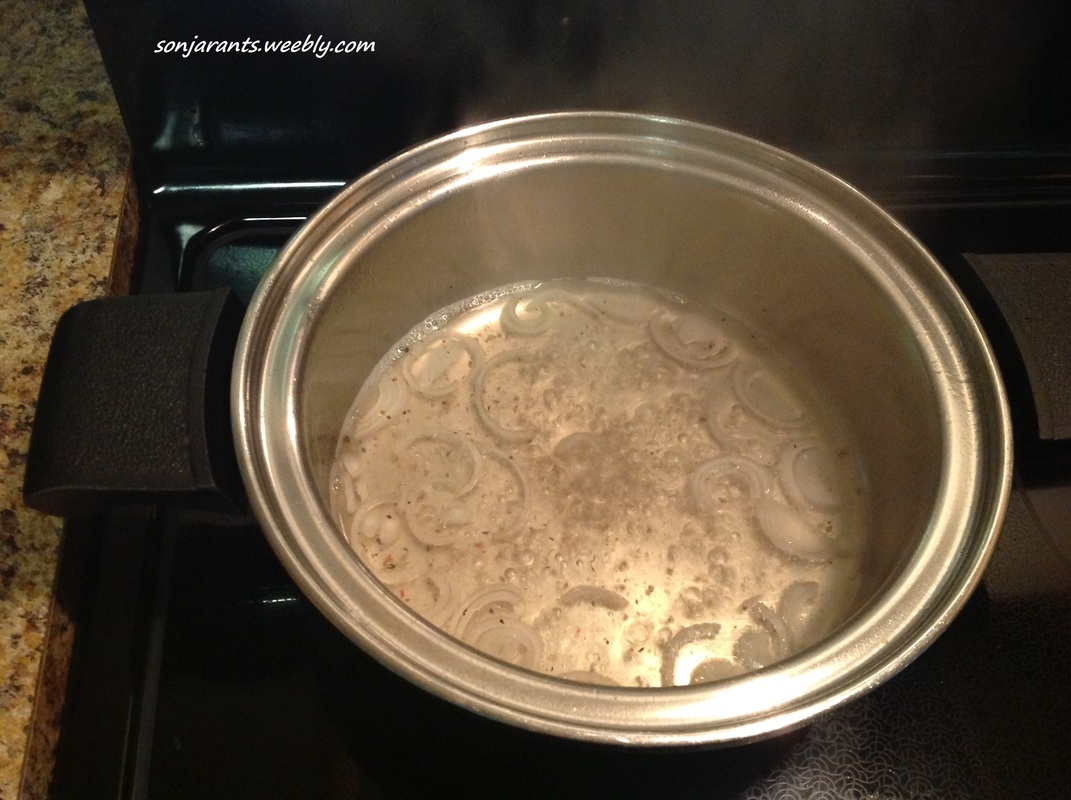 Remove from heat, let cool a few minutes (have a glass of wine during that time... I did) then whisk in the oil, vinegar, salt and mustard. Put it in a plastic container, seal it and place it in the fridge while you make the slaw, for want of a better word. 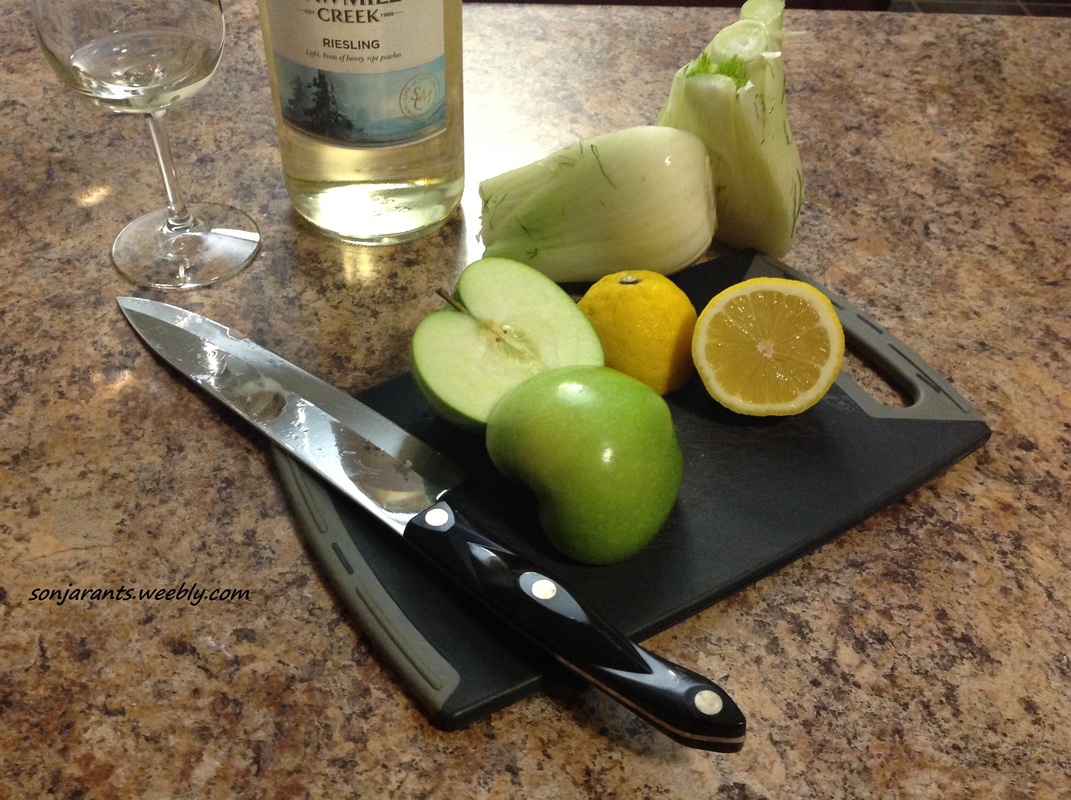 Squirt the lemon juice into your bowl of cold water and as you julienne your apples, place them into the water. This is not really done for flavoring (although they may take on a slight lemony taste), it's really just a little trick to keep your apples from going brown. Leave them in the water while you slice up your fennel into thin strips. 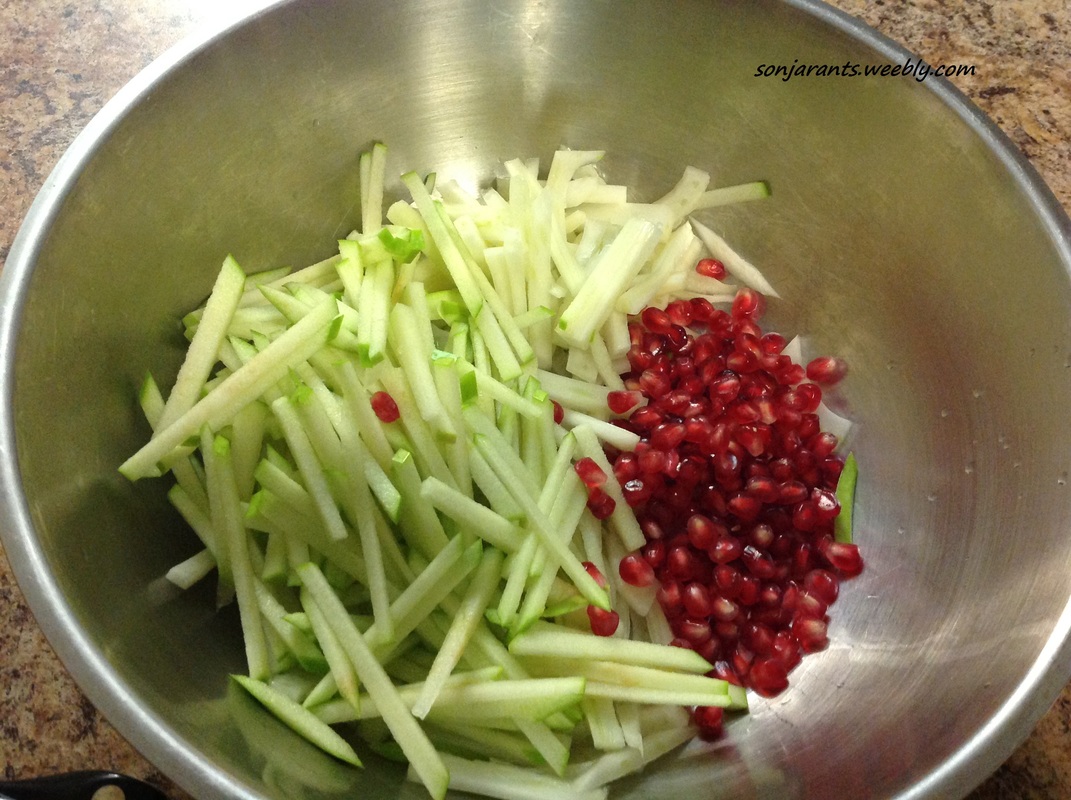 Place your fennel, apple and pomegranate seeds into a bowl and place in the refrigerator. The scallops will cook fast - so you want everything ready to go once they start sizzling. 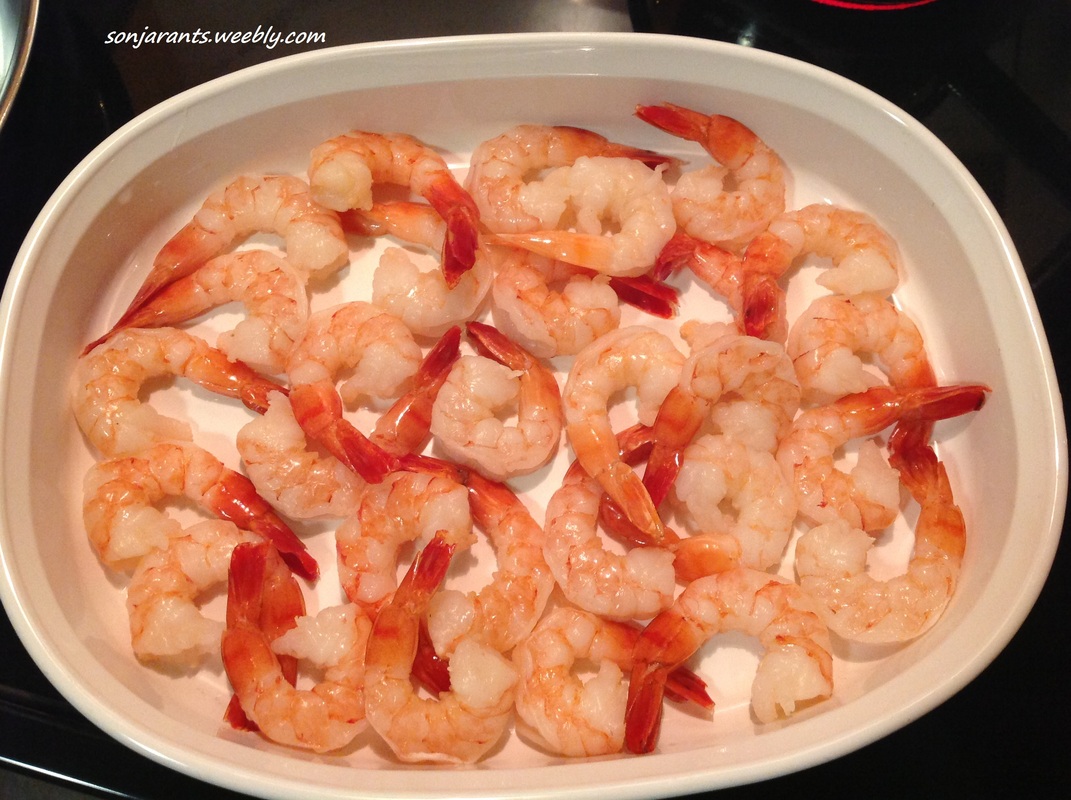 One of my large burners on my stove is not working, so I have to make do. That is why I decided to buy pre-cooked tiger shrimp. I defrosted them and placed them in the oven on low to allow them to warm up while I got the scallops cooked. If you're doing the same, place them in the oven at about 200 deg just before you start the scallops and remove them as soon as you're done. That way they will not be overcooked and rubbery. 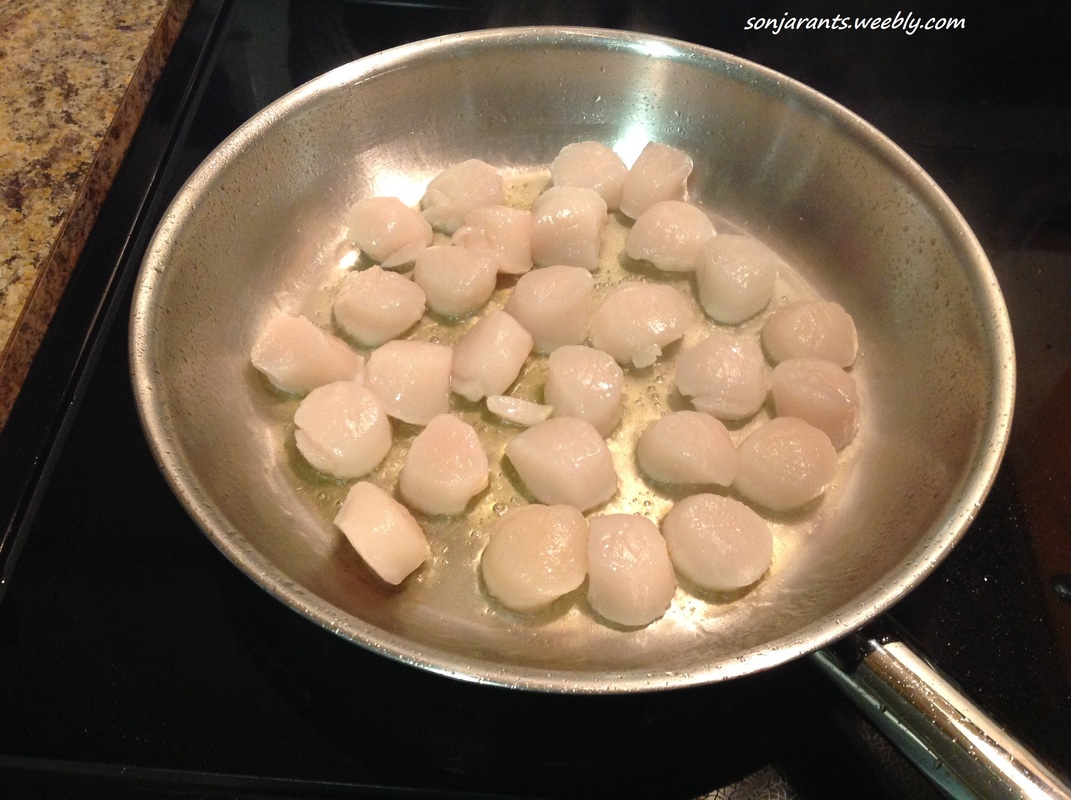 Scallops: I put way too much oil and had the pan way too hot, so I was getting sprayed by hot oil all over the place. However, after just a few minutes... 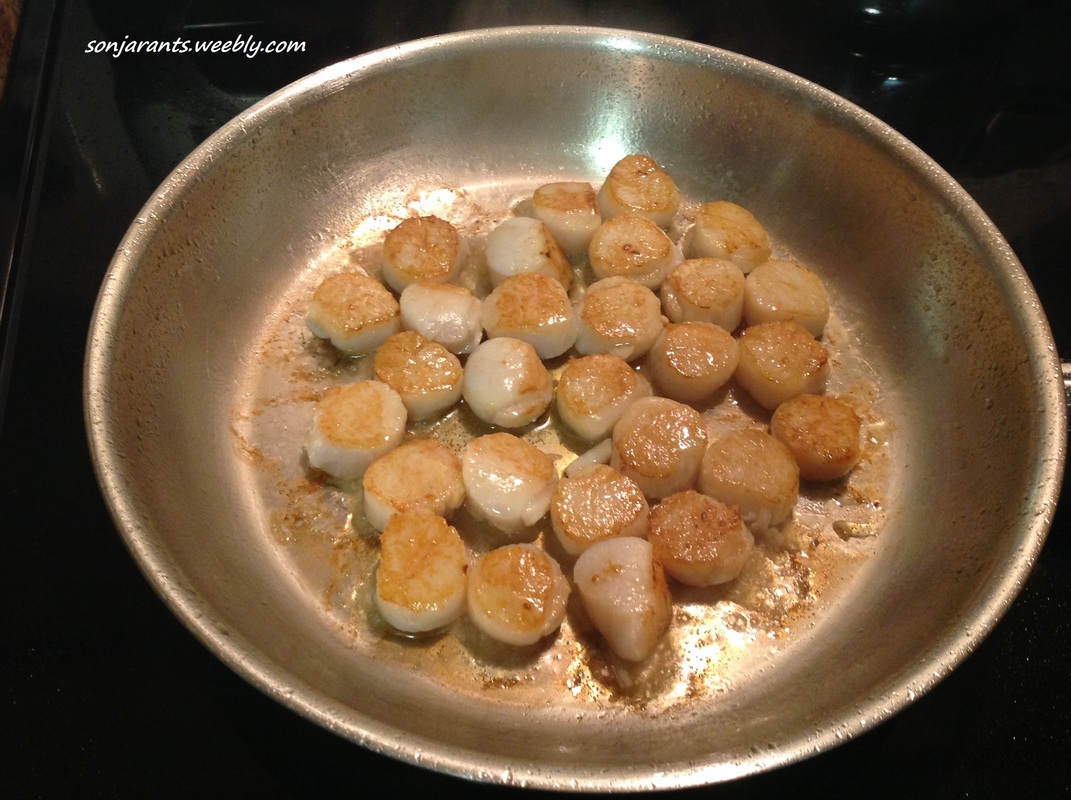 Flip over the scallops and see golden perfection. Just a few more minutes on this side and remove them from the heat. Toss your slaw with your vinaigrette and divide between four plates. Top with scallops and shrimp. Serve with a glass of Riesling & enjoy! 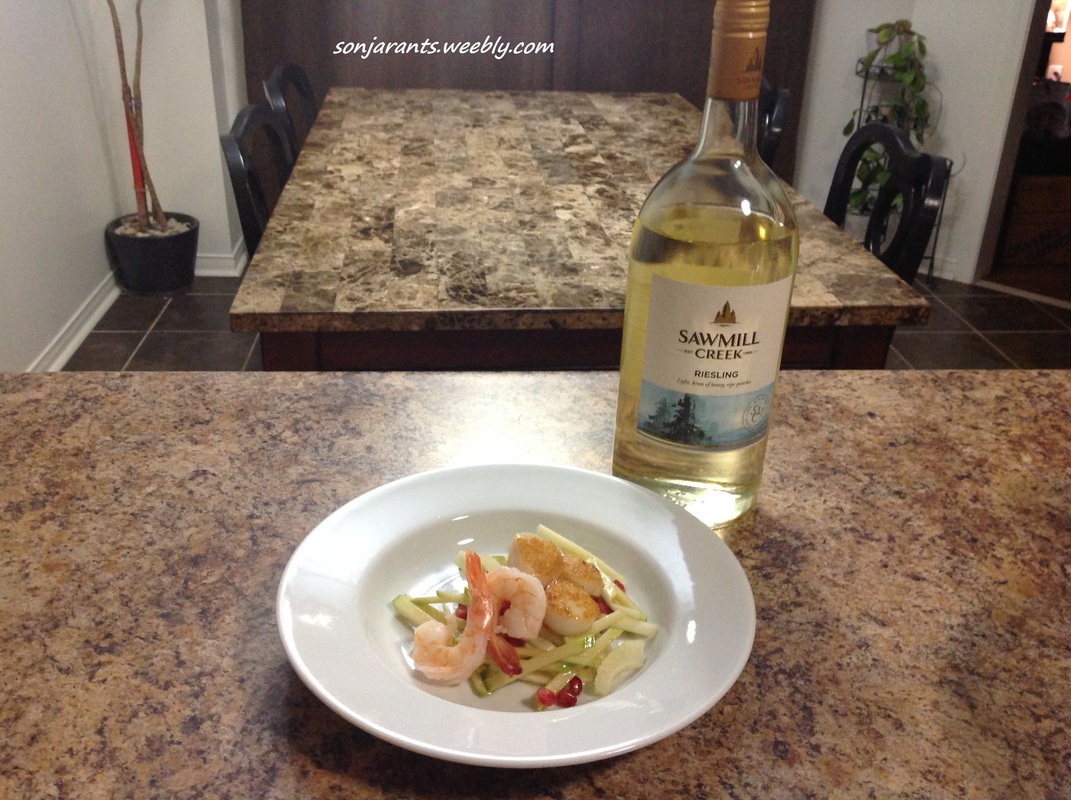 Full Recipe - Serves 4: INGREDIENTS: 1/2 cup Sawmill Creek Riesling 1 tsp ground pepper 1 large shallot, sliced 1/2 cup olive oil 1 tbsp Dijon mustard 1/4 cup red wine vinegar 1 tsp Himalayan salt 1 granny smith apple juice of 1/2 lemon 2 cups cold water 1/2 head large fennel 1/4 cup pomegranate seeds 1 pkg shrimp 1 pkg scallops olive oil salt DIRECTIONS: 1. In a small pot bring Riesling, shallots and pepper to a boil. Let boil for about 15-20 minutes until slightly reduced. Remove from heat. 2. Once slightly cooled, whisk in vinegar, mustard, salt and olive oil. Place into a plastic container and let cool in the fridge. 3. Squeeze lemon juice into a bowl containing the cold water. 4. Julienne apple, placing strips into cold water to prevent browning. 5. Thinly slice fennel. 6. Drain apple strips and place in a new bowl along with fennel and pomegranate seeds. Refrigerate. 7. Rinse and drain shrimp and place in a shallow bowl. Set oven to 200 deg and slowly warm shrimp while preparing scallops. 8. Rinse and drain scallops. Place about a tbsp of olive oil into a pan and once hot (medium-high heat), place the scallops in a single layer. 9. Fry scallops for about 3 minutes, flip and turn off burner. Leave frying in pan for another 3-4 minutes. Remove from heat and sprinkle with salt. 10. Toss fennel, apple and pomegranate seeds with vinaigrette and distribute evenly among 4 plates. Top with shrimp and scallops and serve immediately. The bottle of Riesling was offered free of charge from the good people at Sawmill Creek Wines and BzzAgent with the expectation of an honest review, favorable or otherwise.
0 Comments
 Woo-Hoo is right! The kit arrived super early this time, as the campaign doesn't really get under way until October 31st. They haven't even announced any hashtags yet! I'm really glad that I'll have a little while longer to enjoy my fuchsia hair colour and then I'm shifting a shade to 'Natural Mahogany Black'. I haven't had all my hair all the same colour in over a year, so it'll be a nice change. Here's a screenshot of my campaign welcome:  I am getting lots of campaigns lately - thanks BzzAgent! Getting stuff free is awesome, and the products I've been getting to try out have been really great, especially for my hair! Become a BzzAgent yourself to get your very own campaigns - it's free (you don't even pay shipping) and all you have to do is try out the products they send you and be honest about what you think about it. Here's a link to my blog with information on this and other great sites that offer product testing opportunities: Canadian testing sites Luckily I have some time before this campaign goes live, so stay tuned for the unveiling of the new me courtesy of the fine folks at Clairol Nice 'n Easy and BzzAgent.  Click here to get a printable $2.00 coupon so you can shift your own shade!
Well... maybe just my name. The geek that lives inside of me still thinks that is totally awesome! NASA is sending a little microchip into space and they're giving all of us the opportunity to put our names there for the journey. If you think this is just as incredible as I do, go to NASA's website here and you can read about the mission and where your name will journey (hint: not just to Mars) to. Plus, you get this cool boarding pass. So cool...  Here's a simple recipe for a quick weeknight dinner. I actually took a few pictures of the process this time, instead of just the end result. I often intend to do this, but I forget. Not this time... Makes 10-12 tacos, depending on how many shrimp you put into each shell. INGREDIENTS 1/2 cup premium sour cream (thicker than the regular) 3 tbsp mayo 1 tbsp mint leaves, chopped juice 1/2 lime 3 tbsp unsalted butter 3 cloves garlic, minced 1 lime, chopped 2 x 300g pkg shrimp, peeled, deveined & butterflied 1 tsp pepper 1 cup ea shredded red & green cabbage tortilla or taco shells DIRECTIONS: 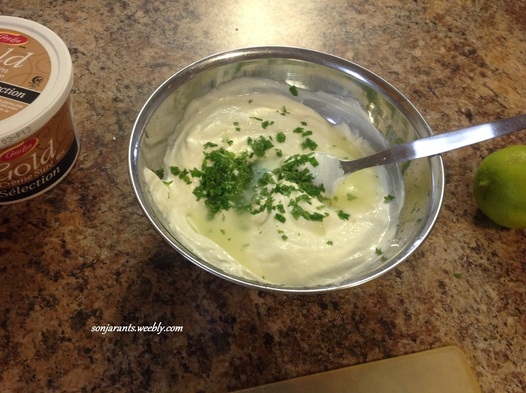 Combine the first four ingredients in a small bowl and place in the refrigerator while you get everything else ready so the flavours meld together.  Melt the butter on medium-high and add the garlic. Saute for a few minutes, then add the shrimp & pepper. Saute for a few minutes longer - just until shrimp turns pink and curls. Add the lime chunks, stir and remove from heat. To assemble, microwave your tortilla for 20-30 seconds (makes them softer) and place a streak of sauce. Top with 5-6 shrimp and finish with some cabbage.
Serve with lime wedges for squirting! Delicious, easy and something the whole family will eat without complaint. I got a lovely bottle of Sawmill Creek Autumn Blush for a BzzAgent campaign and decided to do something fun with it. 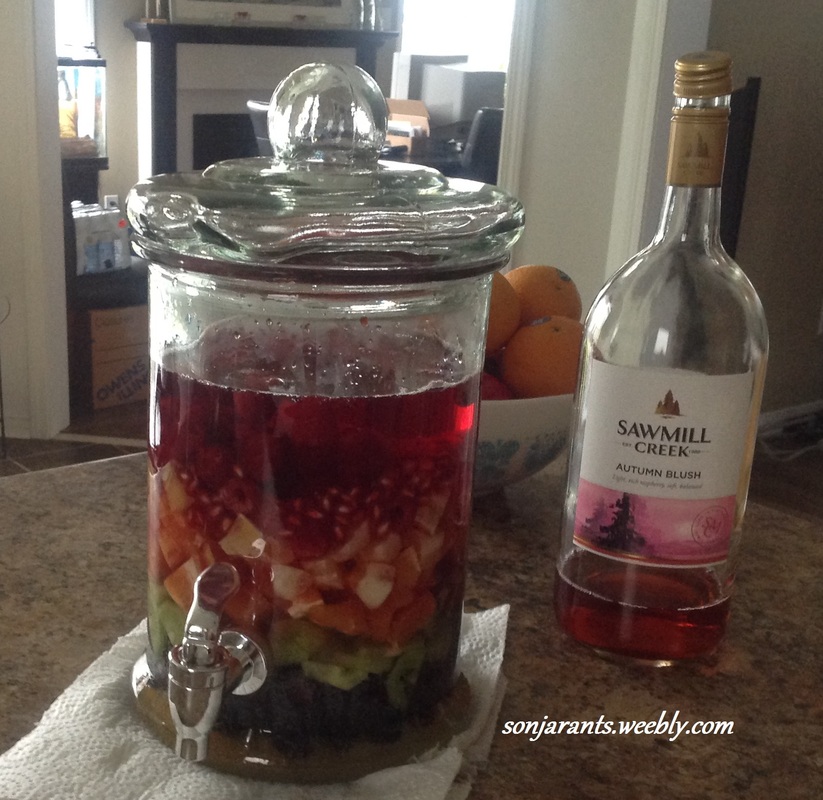 I drew inspiration from a recipe I found on (where else?) Pinterest. The colours in Gimme Some Oven's Rainbow Sangria were so striking and inviting that I just had to try something like that for myself. Unfortunately, my photos are never as beautiful as the ones on Pinterest, but I was really happy with the way this turned out, pretty to look at and delicious to drink. I used this 5L glass dispenser I got on sale for $14.99 at Kitchen Stuff Plus. The recipe below has quantities to fill this container. If yours is smaller, adjust quantities as you see fit. For the raspberries and grapes (or any other fruit that you will not peel) I recommend you buy organic or at the very least wash them with soap and water to get as much of the pesticides off as possible. Remember that they will be sitting in a liquid that you will be ingesting for quite some time. Remember, you can use any kind of fruit that you like - pineapples would probably be really nice in this, but I'm allergic to them so I can't add them. Also, I suggest that you wash and prep the grapes the night before and freeze them. They will keep your sangria cold without watering down your drink. INGREDIENTS 1 bottle Sawmill Creek Autumn Blush wine (1500 ml) 1/2 cup organic honey 2 cups Sprite (or 7-Up or Gingerale) 6 kiwis, peeled and sliced 4 navel oranges, peeled and chopped into chunks 3 meyer lemons, peeled and chopped 2 pints raspberries 1 pomegranate, seeded 1 bag black seedless grapes DIRECTIONS 1. In a large container (not the serving jug), combine the honey, pop and wine and stir well. 2. In your dispenser, layer your fruit: grapes, kiwi, oranges, lemons, raspberries and pomegranate seeds. 3. Pour wine mixture over your fruit and refrigerate for at least 20 minutes to allow the flavours to meld. Final step: Enjoy! The bottle of Autumn Blush was offered free of charge from the good people at Sawmill Creek Wines and BzzAgent with the expectation of an honest review, favorable or otherwise. 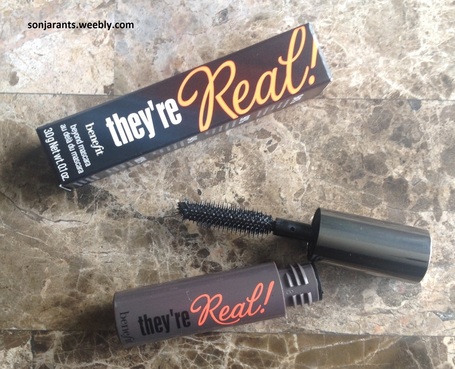 Another item I received as part of my October Topbox. Mascara is my favorite kind of makeup and is often the only thing I'll wear. Some are really great, some average and others just suck. I am always excited to try out a new mascara, looking for the one that will give my eyes the pop they deserve and making my lashes look fake. I read a whole load of really great reviews online about this particular mascara and was psyched to try it out. It better be fantastic at $29 a tube. My lashes did look fuller and they did curl without the need for a curler. There was no foul odour (like some mascaras) and it was definitely waterproof. I put eyedrops in to see what would happen (after I got home from work, just in case!), and there were no streaks or streams running down my face. However, I am only giving this mascara 3 stars because I got some serious racoon eyes by the afternoon. That's a big problem for me - I want to put my mascara on in the morning and still have it on my lashes by the time I get home, not migrating down my face. So, although this mascara did nice things for my lashes, racoon eyes are a dealbreaker. Product Rating: 3 smiles out of 5 Product Website: www.benefitcosmetics.com Product Type: makeup Would I purchase again?: no Would I recommend?: no All opinions expressed in this blog are my own, unbiased after testing the product. The product was fully paid for by myself. The subject of this blog entry has no expectation of a review, favorable or otherwise. I received this product as part of my October Topbox (see what else it contained here) - if you'd like an invite to be a part of Topbox, send me an email.
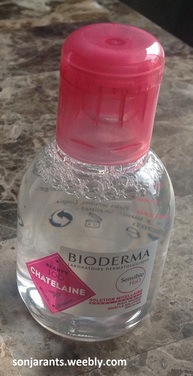 I received this item as part of my October Topbox and decided it would be the first item I try out. I have a few skincare items waiting in limbo to be taken for a test drive, but I like to use them one at a time so that I can tell if any effects, good or bad, are actually a result of using that particular product, and not something else entirely. I have adult-onset acne and my usual regimen for facial cleansing consists of washing my face in the morning with Neutrogena All-in-1 Acne Control Daily Scrub and using Balea 3-in-1 Facial Cleaning Towelettes in the evening. Together they seemed to minimize my breakouts, but I am always on the lookout for the next great thing. Enter Bioderma Sensibio H2O Micelle Solution. I'm replacing both of the aforementioned products and cleansing my face in the morning and before bed exclusively with Bioderma. It's a liquid, so you treat it as you would a toner, pour some on a cotton pad and wipe it gently across your face. Week one saw a massive breakout of red, itchy pimples all over my cheeks for about three days. I was inconvenienced, annoyed, embarrassed, but not overly concerned. Starting any new facial cleanser often gives me breakouts and I know well enough to give it some time to acclimate to the Bioderma. The second reason I wasn't too concerned yet was because I've been seeing a lot of posts lately accusing companies who manufacture acne products of putting something in the soaps and creams that actually make you break out so that you will continue to buy their product. I've also heard that Proactiv works wonders - until you stop using it. That being said, I don't know any of these things for a fact and I'm willing to try a product not made to fight acne to see how it stacks up. Boy, was I itchy, though! Around day four, the itch was gone, and the redness and pimples had begun to subside. My face definitely felt softer. I have an issue with the skin on the sides of my face - it looks normal, but if you touch it, it feels like sandpaper. Not fun, and embarrassing if someone touches it. I feel a definite difference in the softness of the skin all over, but it's most noticeable here because that area is what I use as the ultimate test. My face was already feeling less dry and oily (combination skin, here) and more even, just like skin I imagine normal people have. I also noticed a reduction in blackheads on my nose, which are the bane of my existence. I can't seem to get rid of them ever with just regular washing, no matter how hard I scrubbed or how much exfoliation I used. Biore face strips were my weekly go-to. Since they specifically mention removing water-resistant makeup, I decided to put on some waterproof mascara and see how easily I could remove it at the end of the day. I did take some rubbing, and three cotton pads, but Bioderma did, in fact, remove all of my mascara from my lashes and the skin around my eyes. Before I give you my final verdict, here's what Bioderma Sensibio H2O Micelle Solution can do for you according to their website:  Overall, this product did what it claimed it would do, my skin felt softer, cleaner and did not dry out after use. It removed my waterproof mascara and on the whole, this product does exactly what it claims it will do. Its also reasonably priced at $21.95 for a 250ml bottle at Shoppers Drug Mart. Product Rating: 5 smiles out of 5 Product Website: www.bioderma.com Product Type: skin care Would I purchase again?: yes Would I recommend?: yes All opinions expressed in this blog are my own, unbiased after testing the product. The product was fully paid for by myself. The subject of this blog entry has no expectation of a review, favorable or otherwise. I received this product as part of my October Topbox (see what else it contained here) - if you'd like an invite to be a part of Topbox, send me an email.
 Back in September I purchased a P&G Sample box (see what else I received here) from Wagjag and Tide Pods Free & Gentle was one of the samples I received. They only sent one pod, so although I would have liked to test out one load of towels for the softness quotient and one load of whites for the stain-fighting aspect, I had to choose only one. I went with the towels because I figured I would be able to easily judge the difference between what came out of my dryer and what was already in the linen closet. For reference purposes, I'll let you know that I washed the towels in cold water (as I do with my regular detergent) and I did use my usual fabric softener sheets in the dryer. My usual brands are Purex and Gain, respectively. Before I get into my analysis, here's what this product can do according to P&G:  The towels were clean, soft and fresh, but was the difference really enough to justify the price? With most things, there are pros and cons. The Tide Pods are pre-measured and easy to pop into the drum of your washing machine. You don't have to worry about spills, liquid detergent gunking all over the lids or powder leaving a layer of dust on everything in your laundry room. You won't use too much or too little - that problem has been solved for you. My towels came out just as clean and soft as ever, so Tide delivers on the promise of clean. There's no heavy scent - in fact there's no scent at all, but I find that the detergents I use rarely have a lasting scent anyway. I rely on my fabric softener to take care of that job. As for the pre-measured pods - I prefer to use as much or as little as I feel I need. Sometimes I'm only doing a small, quick load, and using a pod seems like it may be a waste to me. Since it does the job, let's take a look at the economics for a moment. Times are tough and saving a few pennies on something you have to buy and use on a regular basis matters to me. As I mentioned previously, my regular detergent is Purex. It offers 96 loads at about 13 cents a load. Let's say it's been a really dirty month (which rarely happens in this house full of couch potatoes) and I used double portions of detergent every time I did a load and only got 48 loads out of that particular bottle. That would average out to 27 cents a load. That's not going to happen, and the truth of our usage is probably somewhere in-between. Tide Pods Free & Gentle offers 72 loads at about 36 cents per load. What you're paying for here is convenience. It's the same reason a bag of chips costs more at the gas station than at the grocery store. If you prefer this format and are willing to pay the price, you will definitely get clean clothes. You may also be concerned with allergies, in which case this may be an option for you, but this product is also available in a liquid form which equals out to about the same cost per load as the pods (unless you're buying the small bottle and using extra, then the cost is shocking: almost 60 cents a load!) Found you a fantastic $2.00 off coupon courtesy of the coupon sherpa!  My final word is that this product does what it says, but I am not willing to pay anything extra for it. I would recommend it to those who have allergies and don't mind paying a premium for their detergent. Product Rating: 4 smiles out of 5 Product Website: www.pg.com Product Type: laundry detergent Would I purchase?: no Would I recommend?: *yes - see final word All opinions expressed in this blog are my own, unbiased after testing the product(s). The product was received as a sample (I paid for shipping). The subject of this blog entry has no expectation of a review, favorable or otherwise.
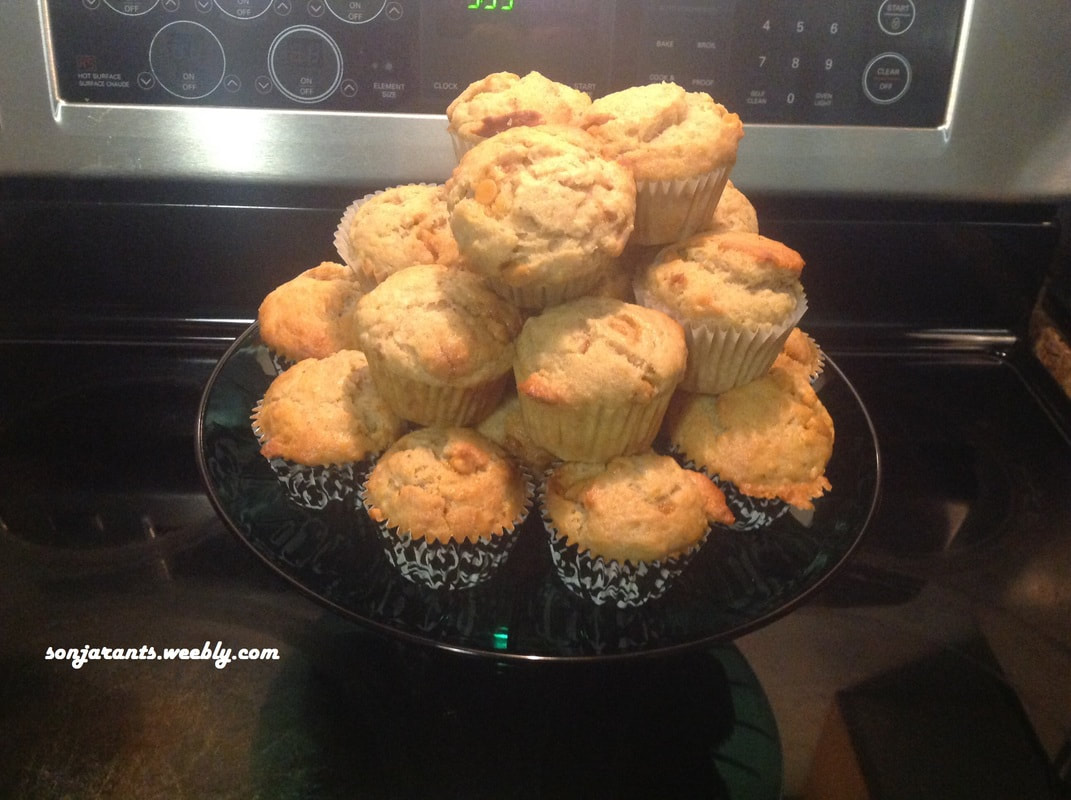 Another reason I love the fall so much is because this is really the time for baking. The hot days are over and in our house we like to revel in cakes, pies and muffins while we cuddle up in our blankets. I have so many posts waiting in the wings - I've had a whole lot of samples come my way these last few weeks. But I wanted to share all my yummies with you first! I have spent years perfecting my banana bread. Every time I think I've perfected it, I think of something else to add or subtract or change and try again. I use the same batter for the loaf and the muffins, it just depends on what we feel like that particular day. So, although I say this after every new batch, I think that I really have found the perfect recipe this time. The addition of shredded coconut gives it a little texture and the butterscotch chips are better than chocolate. Skor bits don't hurt, either. Let's get to the recipe: Makes 12 muffins INGREDIENTS: 2 eggs 1 tsp vanilla 1/2 cup melted unsalted butter 1/2 cup premium sour cream (premium is thicker) 3 bananas, mashed 3/4 cup sugar 1/4 tsp baking soda 1/4 tsp nutmeg 1/2 tsp cinnamon 1 tsp baking powder 1-1/2 cups flour 1/4 cup shredded unsweetened coconut 1/2 cup butterscotch chips 1/4 cup Skor bits DIRECTIONS:
1. Preheat oven to 425 degrees & line muffin pan(s) 2. Mix together first 5 (wet) ingredients in a large bowl 3. In another bowl, sift together next 6 (dry) ingredients 4. Add the wet to the dry and fold in the chips, coconut and bits, stirring just to combine 5. Spoon dough into muffin tins and bake for 18-20 minutes or until a toothpick inserted into the center of one comes out clean 6. Allow to cool before digging in  My son keeps seeing the Tim Horton's commercial featuring all of their seasonal pumpkin-inspired treats. Every time it comes on, he tilts his head back, drools slightly and murmurs (disturbingly like Homer Simpson) "mmm... pumpkin donuts...". So what did I do? I baked him some mini pumpkin donuts, of course! I had leftover pumpkin puree from all the pumpkin pies I baked for Thanksgiving. That recipe I will also post for you because, quite frankly, they're the best pumpkin pies you'll ever bake. Every year I get more and more requests for it, it's just that good. But, you'll have to wait a little longer for that one and enjoy these donuts first. Anyhow, I had leftover puree and only one egg and no 'bakery emulsion', so I had to improvise a little, but I think the end result was quite delicious. You can make mini donuts like I did, or regular size, depending on the type of pan you have available. Makes 36 mini donuts INGREDIENTS (for the donut batter) 2 cups flour 1-1/2 tsp baking powder 1/2 tsp salt 1/4 tsp baking soda 1/4 tsp ginger 1/2 tsp cardamom 1-1/4 tsp nutmeg 2-1/2 tsp cinnamon 1/4 cup golden sugar, packed 1/4 cup demerara sugar, packed 1 cup pure pumpkin puree 1 egg 1 small banana, mashed 2 tbsp milk 1/4 cup unsalted butter, melted 1 tsp coconut oil, melted INGREDIENTS (for the frosting) 1 cup powdered sugar 2 tbsp milk 1 tsp cinnamon 1/2 tsp nutmeg DIRECTIONS (for the batter) 1. Preheat oven to 350 degrees & grease donut pan 2. In a smallish bowl, mix together dry ingredients. 3. In a large bowl, mix together the wet ingredients. 4. Add the dry to the wet and stir to incorporate well. 5. Spoon batter into donut pan (with a flat surface, they will rise and become rounded) 6. Bake for about 8-10 minutes. Remove from oven and let cool on a wire rack to prepare for frosting. DIRECTIONS (for the frosting) 1. Thoroughly mix together all ingredients until smooth. Dip each donut into the frosting once it has cooled (they don't take long). Allow frosting to set, if you can keep your family (or yourself) away from them for that long. Enjoy! Recipe adapted (ever so slightly) from deliciouslysprinkled.com. This link will open a new page directly to her recipe - she's got great pictures of the process, including the dough in the pan before baking, just in case I wasn't entirely clear about the whole 'flat surface' thing. |
AuthorHi! I'm Sonja and I'm glad you're here! I'm happy to share some recipes and gardening tips with you while I let you know about great (or not so great) products, services, and media I encounter. Visit my online shop at MysteriousDragonfyre.com
for Crystals, Herbs, Incense, and other Witchy things! Categories
All
Hey look! You're visitor #
Visit my online shop at MysteriousDragonfyre.com
for Crystals, Herbs, Incense, and other Witchy things! |
