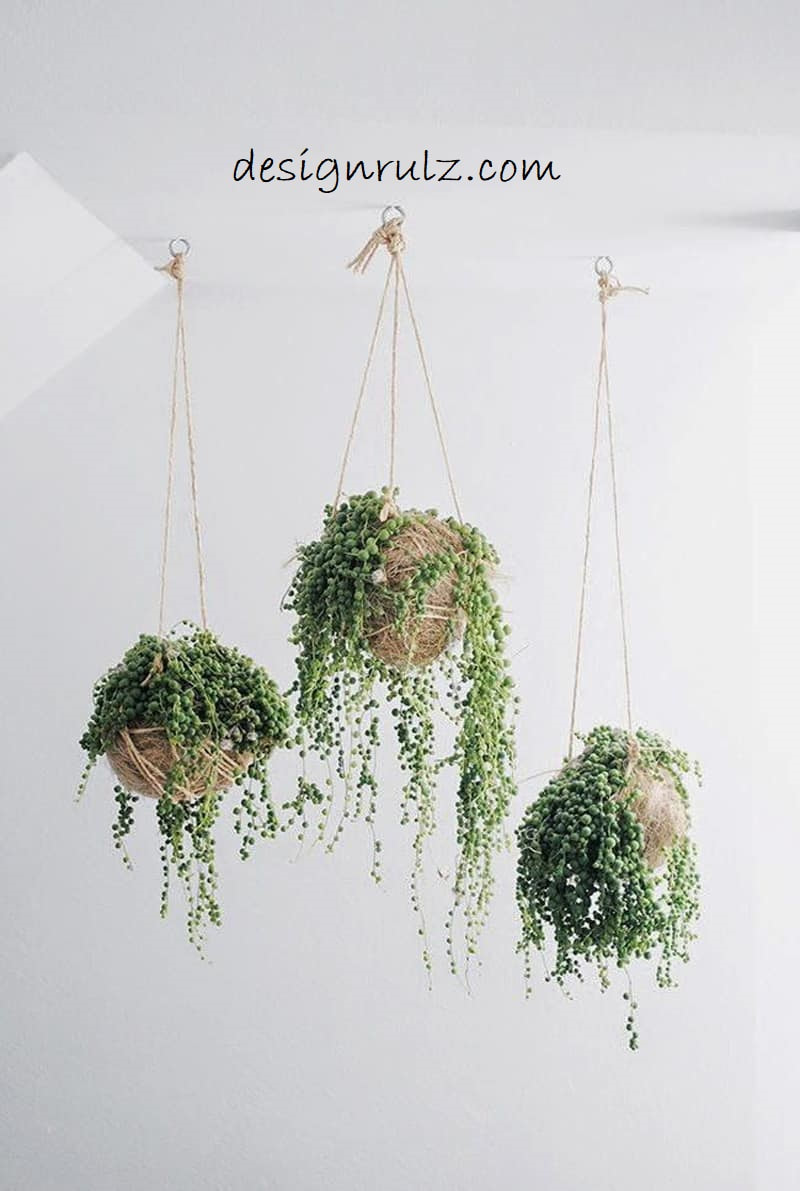
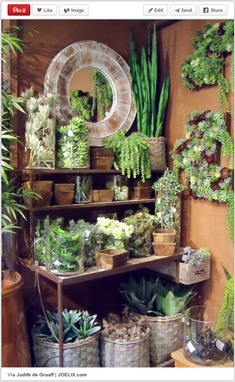
 I mentioned in a previous post my recent addiction to Pinterest. Well, one of the boards that I pin to is decor ideas involving plants. I love plants and having them around. I only have a slightly green thumb - I kill a lot of plants, but I do have some survivors. I have a terrible habit of forgetting to water my plants and then way overdoing it. I'm hoping to change that behavior - I have put myself on a schedule, so I'm watering everything every Thursday. I really hope that helps and keeps everyone alive a little longer. Especially within the mini oasis I recently created. So, back to Pinterest. I was so inspired by this pin posted by Judith de Graaff that I decided I had to have something similar myself. I do not have the disposable income to recreate it exactly, but one night I had a lightbulb moment and remembered my old desk and thought maybe I could do something interesting with that.
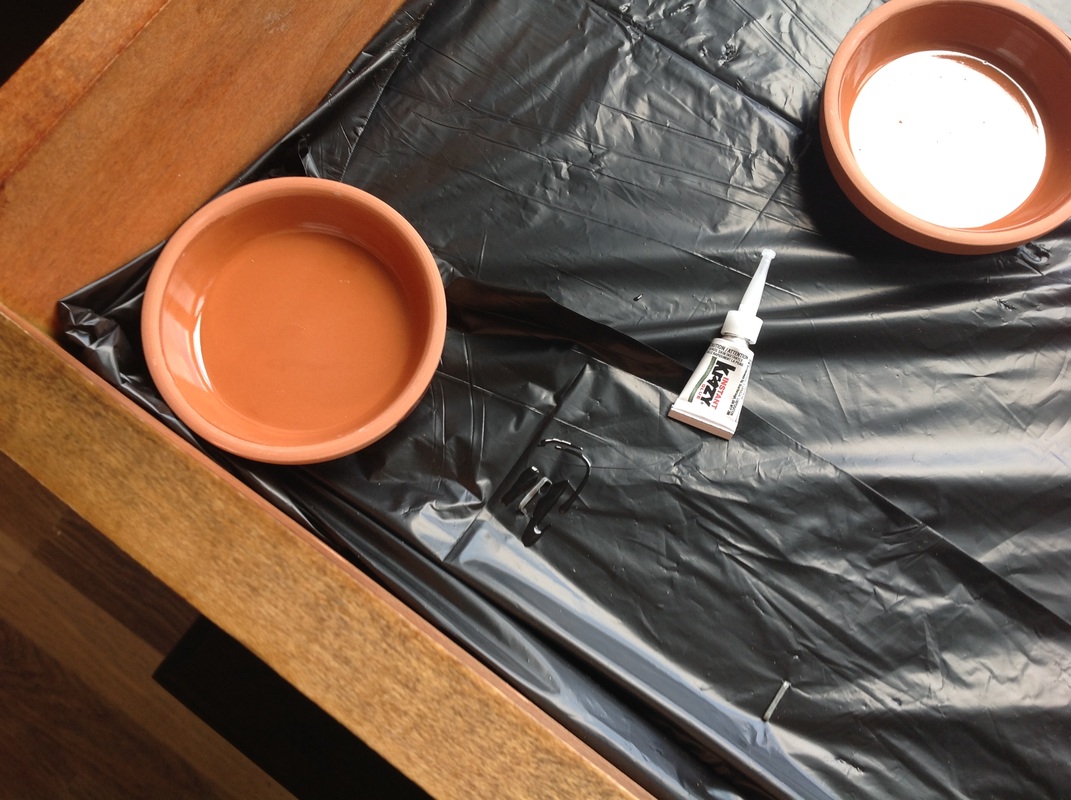
So I decided to turn my old desk into a planter. The irony is that all those beautiful succulents trailing down the wall and desk are what actually made me want to do this, and I was not able to find even one to add to my finished product.  Before - frontview - 23-09-14 - This is how sad and boring this corner looked. 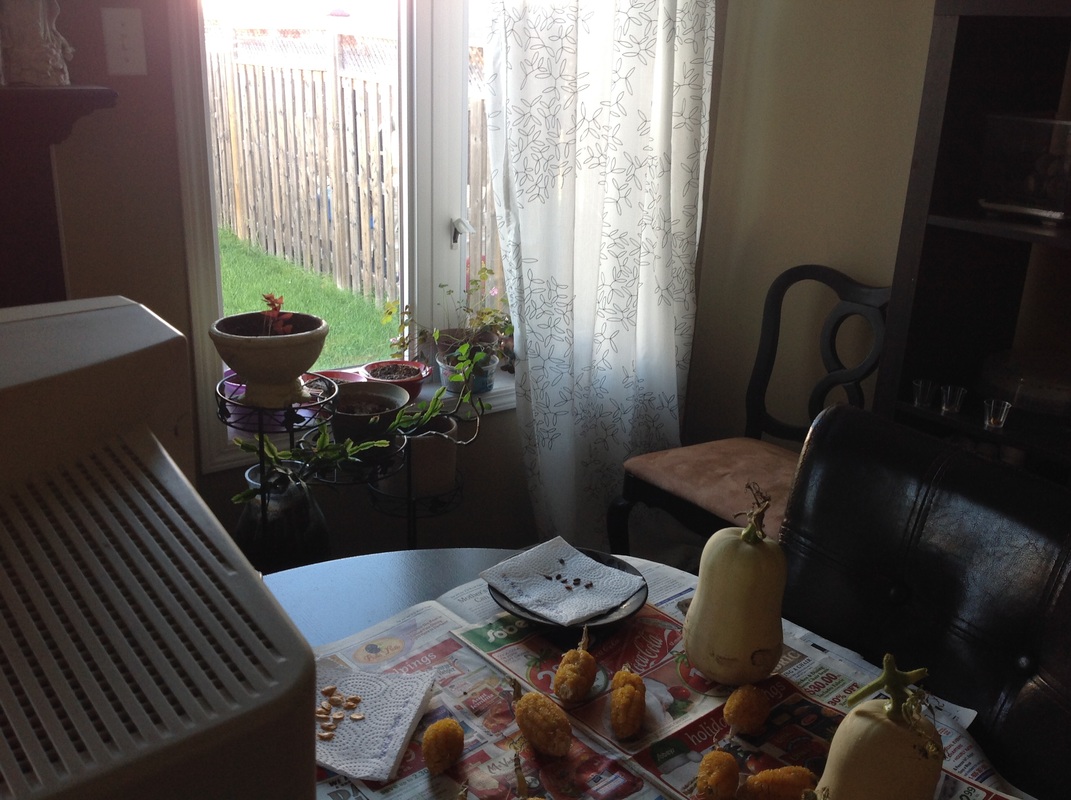 Before - diagonal view - 23-09-14 - ignore my various produce and seeds! 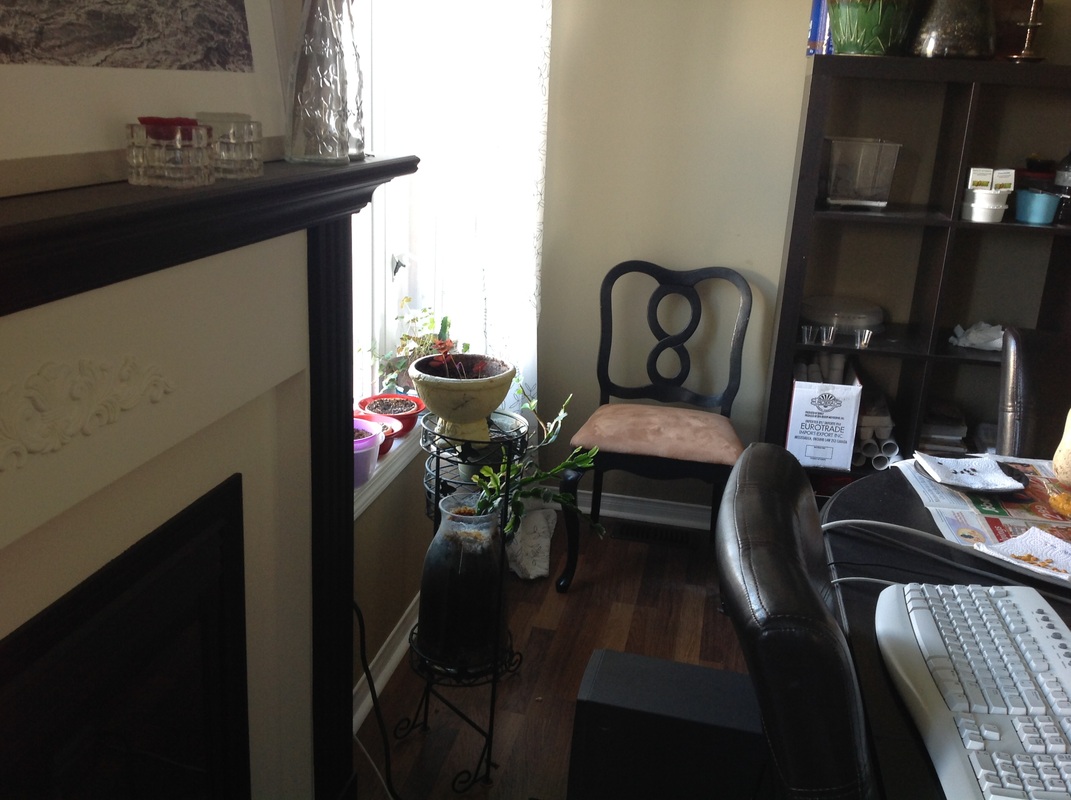 Before - sideview - 23-09-14 - again, very sad and boring. There are my before pictures. As you can see, the corner I was interested in sprucing up was super boring and very, very sad. Ready to find out what I did and how I did it? Here we go: 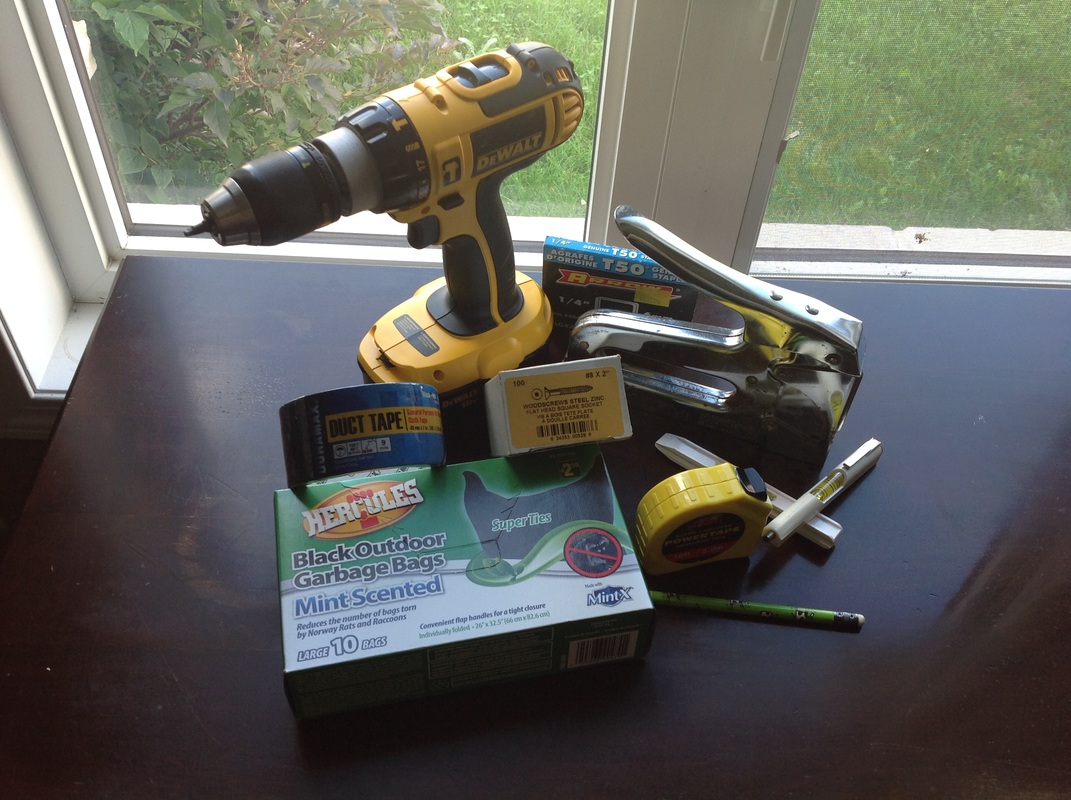 Here are the tools I used: A drill (with bits for screws and for making holes) A staple gun (with staples) Duct tape Measuring tape Level Screws Garbage bags (lol - mint-scented!) (the cow pencil was used for something else but really, really wanted to be in the photo) 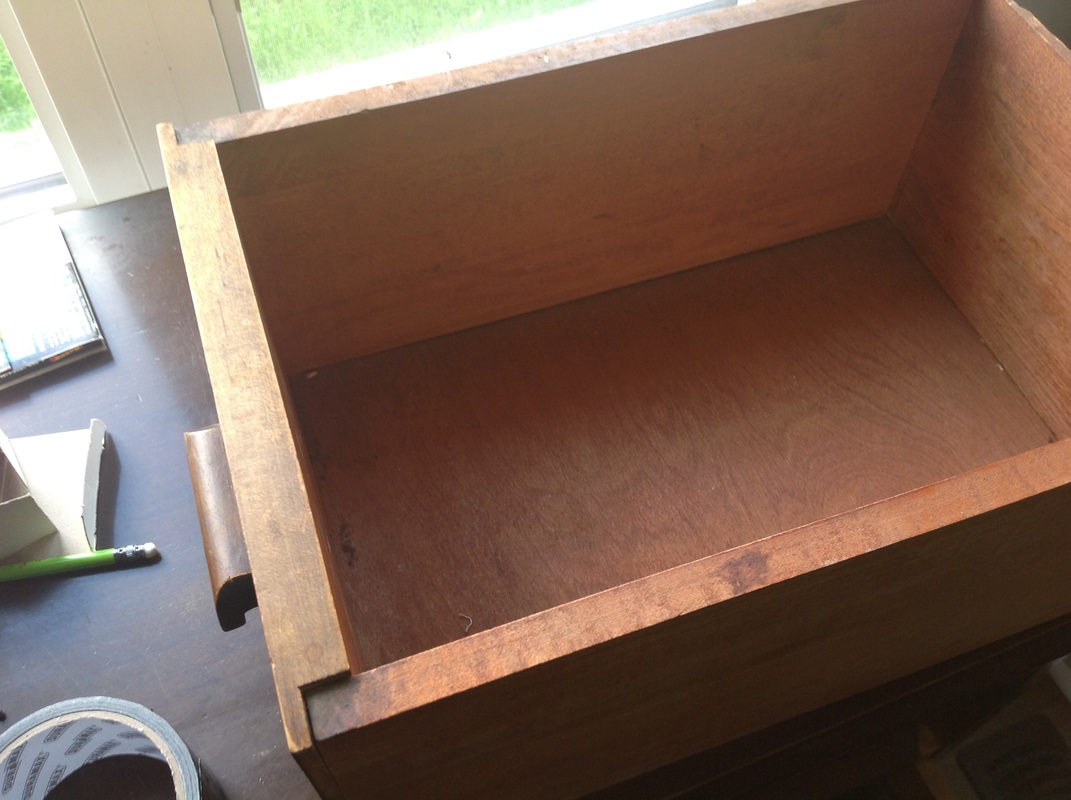 After lugging the desk and three drawers down the stairs (valuable tip: do not wear long yoga pants when moving heavy furniture down the stairs, they are just waiting to trip you to your death), I moved everything from the corner, put up my two guys and a hook to hold back the curtain (which I will paint another time, I didn't want to wait for it to dry), put the desk into place and got to work. Here is one of the drawers. I stapled and then duct-taped the black plastic garbage bags to the inside so that when I inevitably cause spillage when I'm watering the plants, it won't seep into the wood and rot and mold. 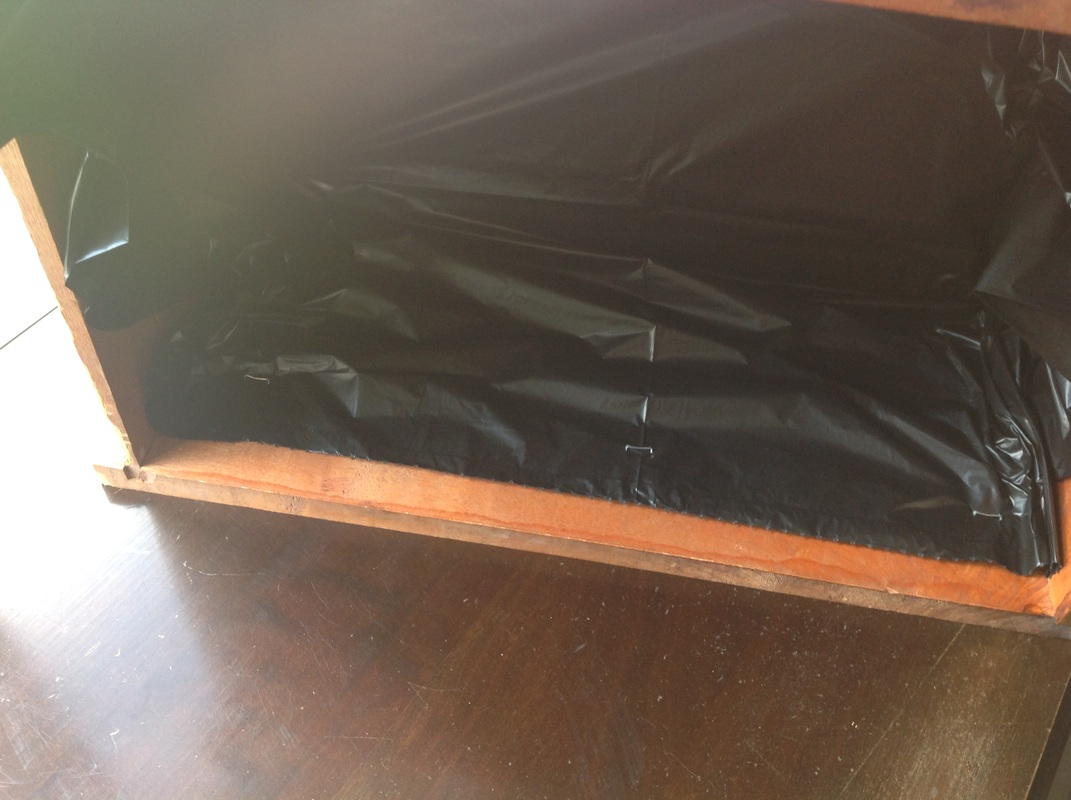 inside of the drawer with staples 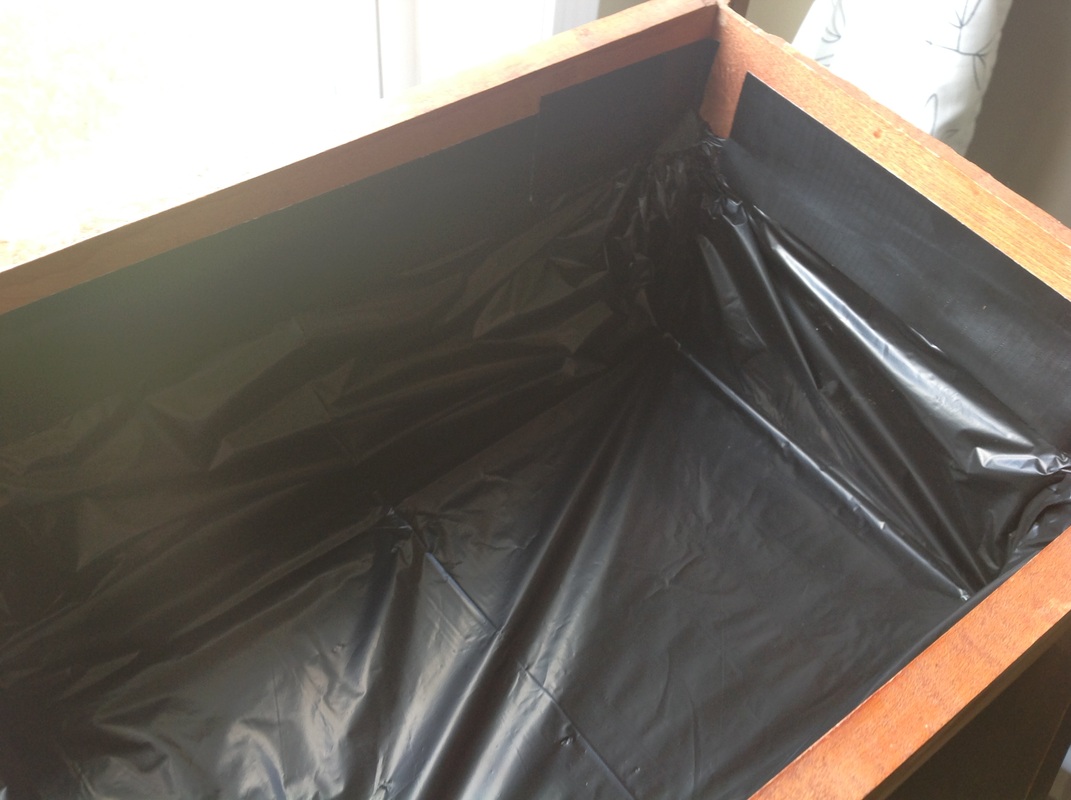 after adding the duct tape After I did this to all three drawers, I placed the lowest one into it's slot, sticking out as far as it would go without toppling over. 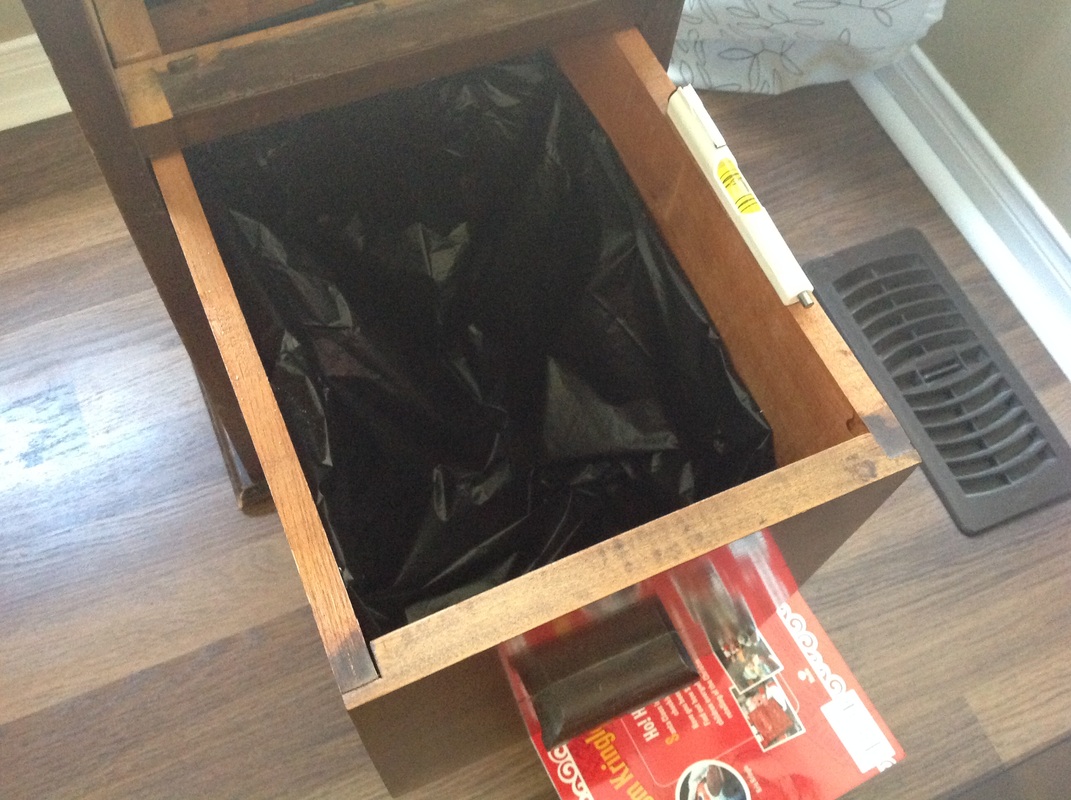 I placed a level on one side to help me out and stacked some books under until it was level. Here is where you'll use the measuring tape; measure both sides along the edge to make sure they're the same and your drawer is straight. I thought I took a pic of this, but I guess not and I'm sure you can picture it in your head right now, I have faith in you. 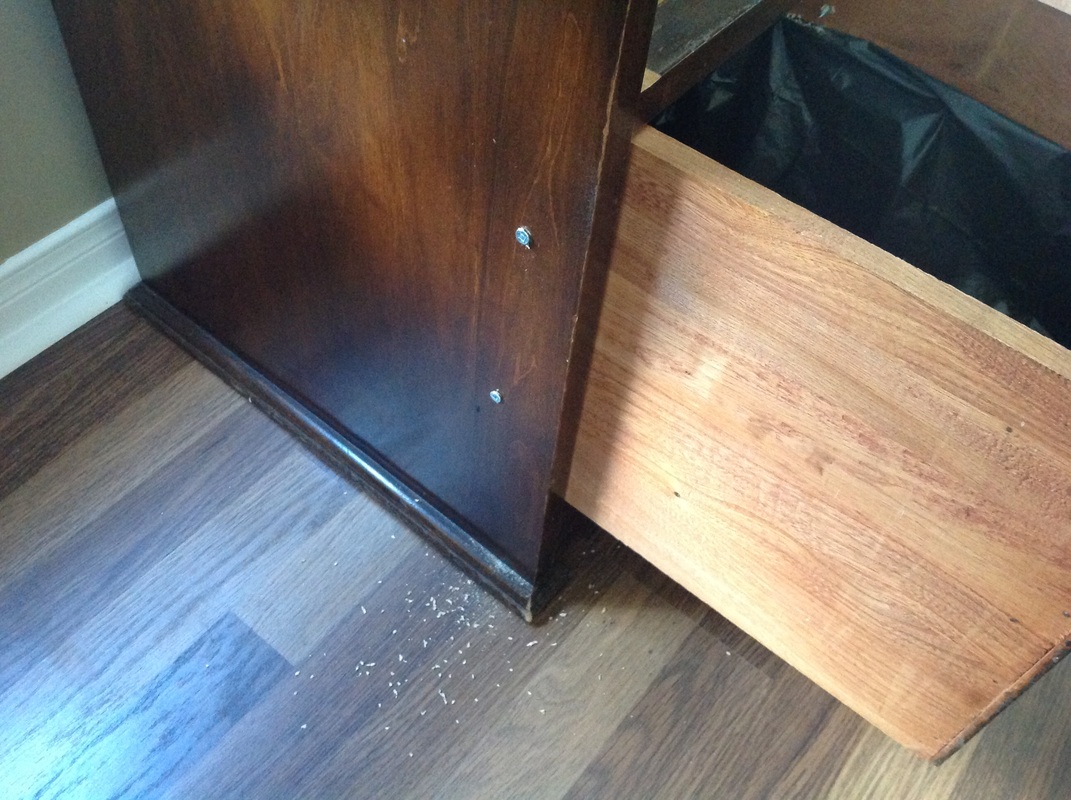 Once my drawer was nice and straight and level, I put four screws to hold it in place, two on each side. Before you start with the second drawer, I would suggest you place the container(s) that will house your plants in first. You may have a difficult time getting them in after. I shoved old newspaper and other packing materials in behind them, just to make sure that they stayed at the front and couldn't travel. I used a high vase and a glass jar that housed nuts in it's former life. It doesn't really matter what you use - the vessels won't be visible once it's done. 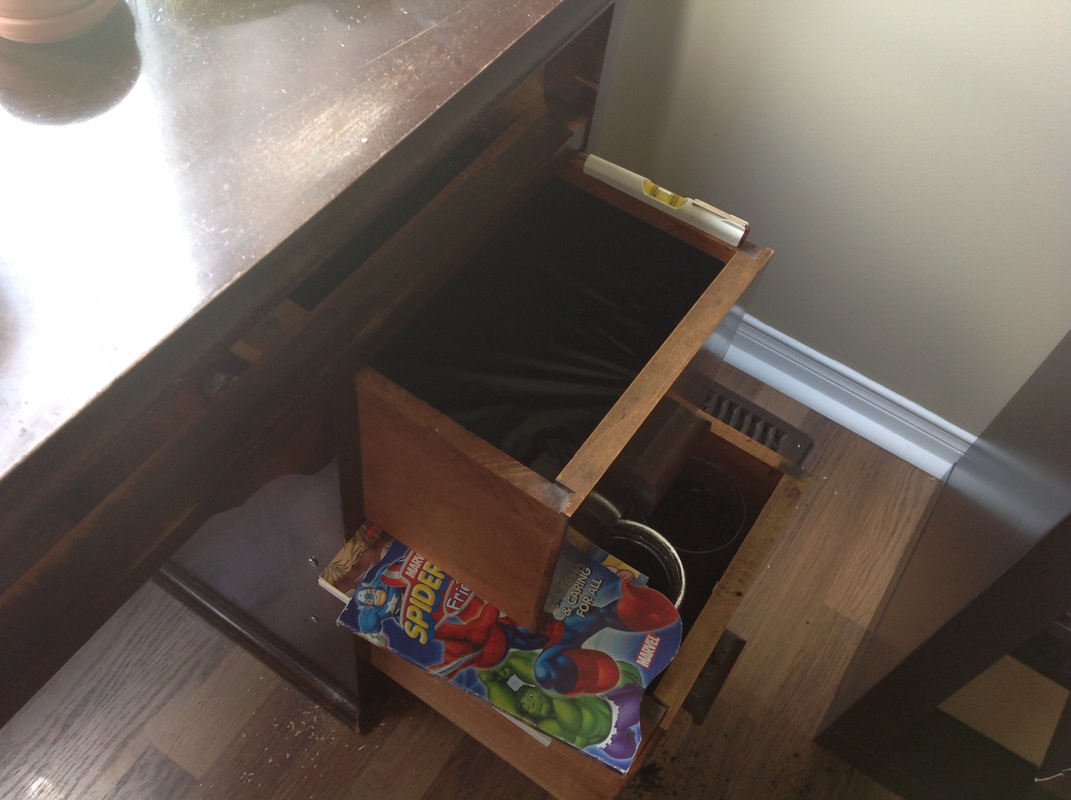 Follow the same process with the second drawer. Just make sure you don't pull it out all the way. Leave as little space as possible for the bottom plants. These drawers were smaller than I expected. 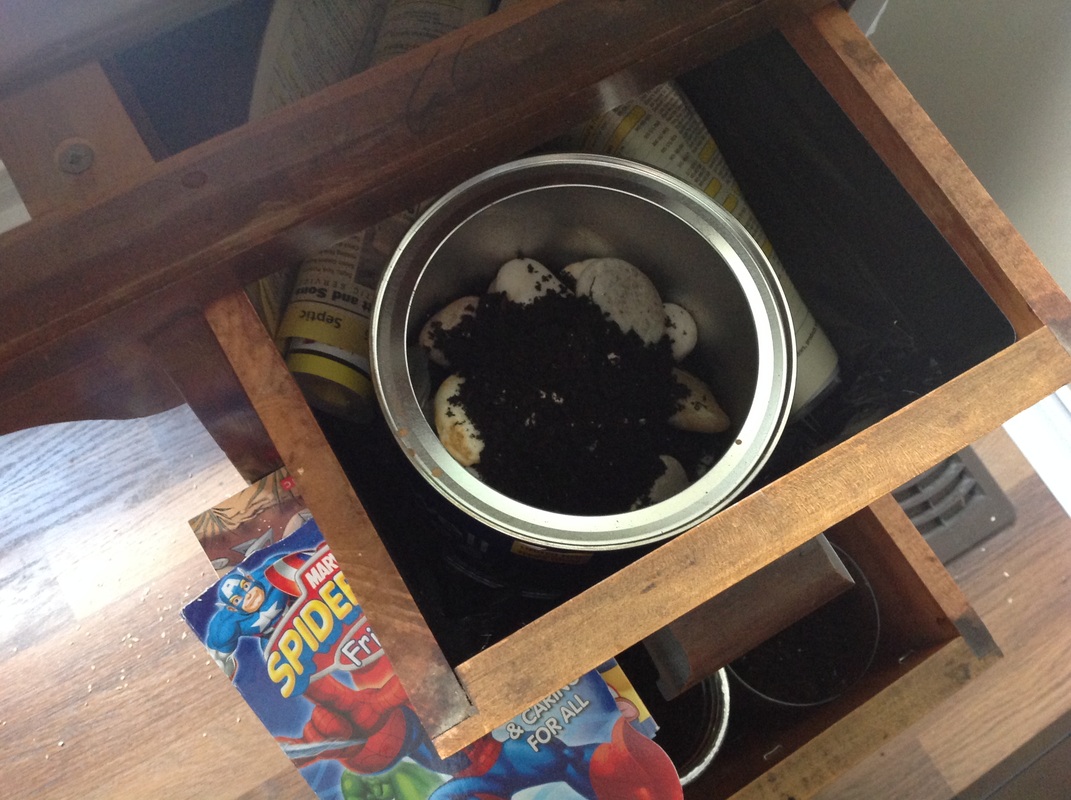 I used an old coffee container, it just happened to be the perfect height and shape. A word of caution: I would suggest you place your container into this drawer before you screw it in. There is less space to work with than the bottom. I almost couldn't squeeze this container in. Then I would have had to unscrew it and pull it out further. I rolled up chunks of phone book and anchored it into place.
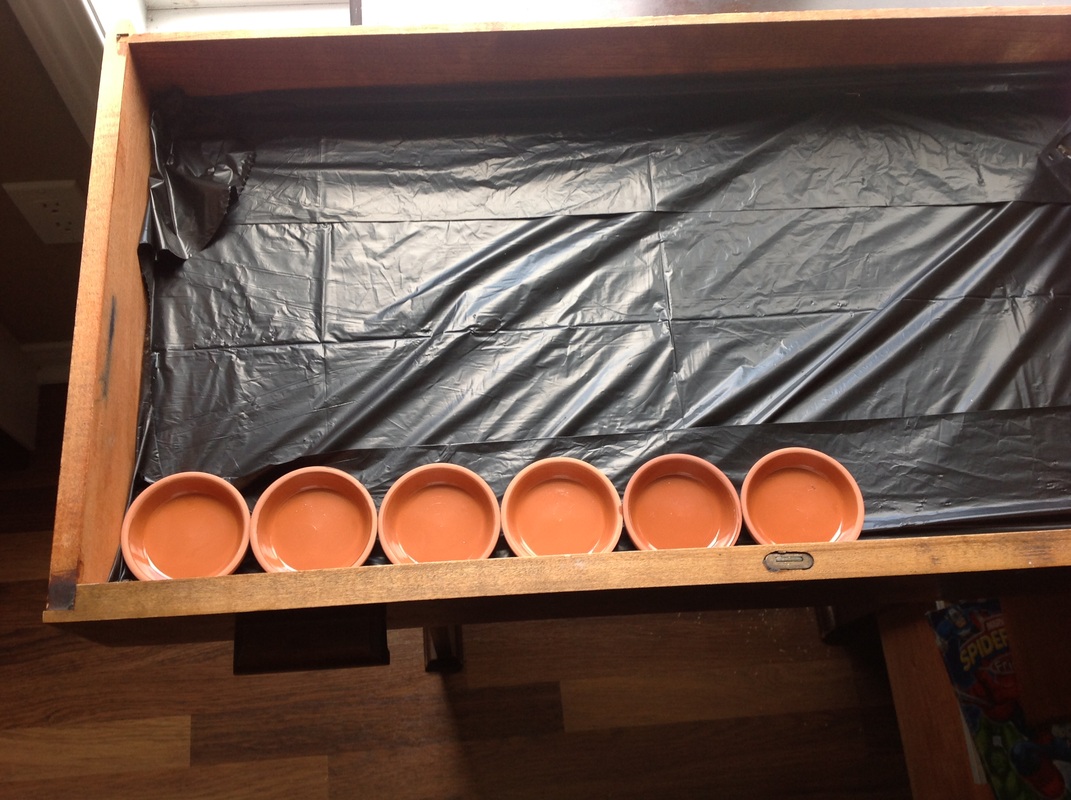
I put these little terra cotta pots in the bottom left hand corner of the top drawer because I wanted those drapey succulents to grow out of here and just hang down into the empty space. You know the ones I was talking about earlier? My whole inspiration... that I could not get my hands on. I didn't put anything on the right side because I figured I'd put a plant that grows upward in the middle drawer, and this would give it the space it needed to grow. I put a staple under each base and a little crazy glue, hoping this will keep them in place. Since this is the top drawer, I did not screw it into place. As it stands, this drawer will be closed until I find the perfect little gems I need. Then I'll only keep it open about an inch to let them grow out and leave space for the other plant below it. 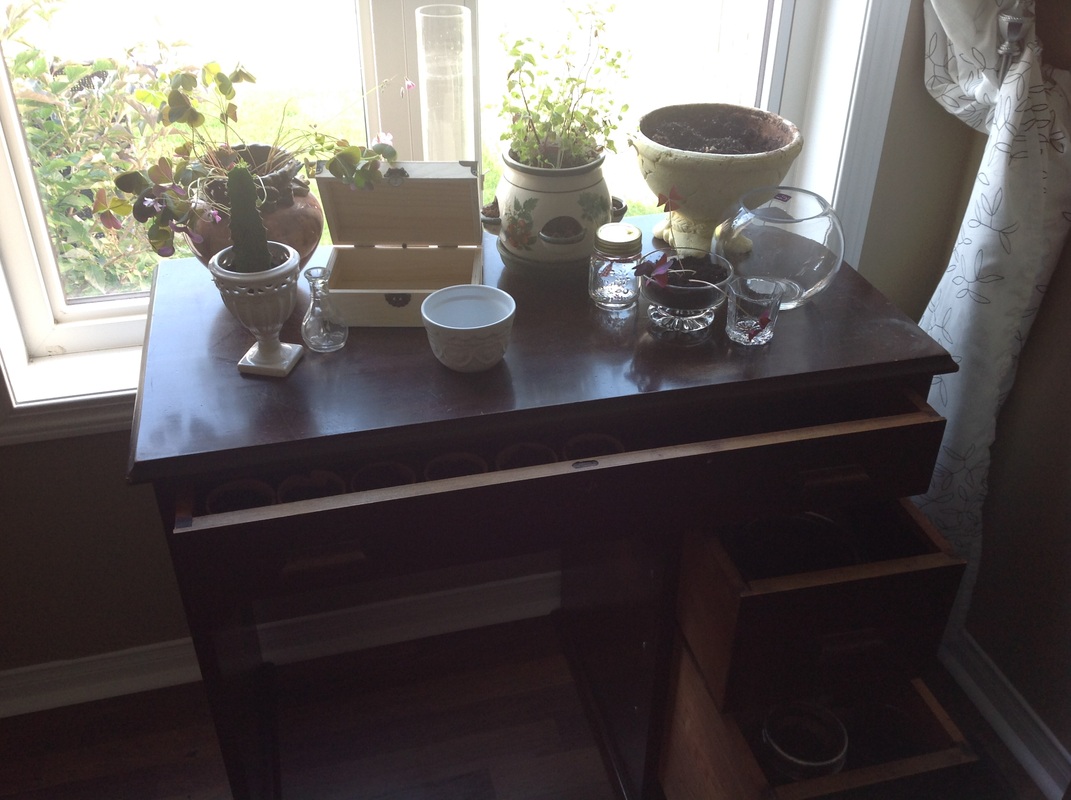 So here's the end of day one. It's pretty much put together and I even had some plants to add. I made a trip to the dollar store and picked up some random things to plant in, including the box. I wanted different heights and sizes and foliage to make this look interesting. 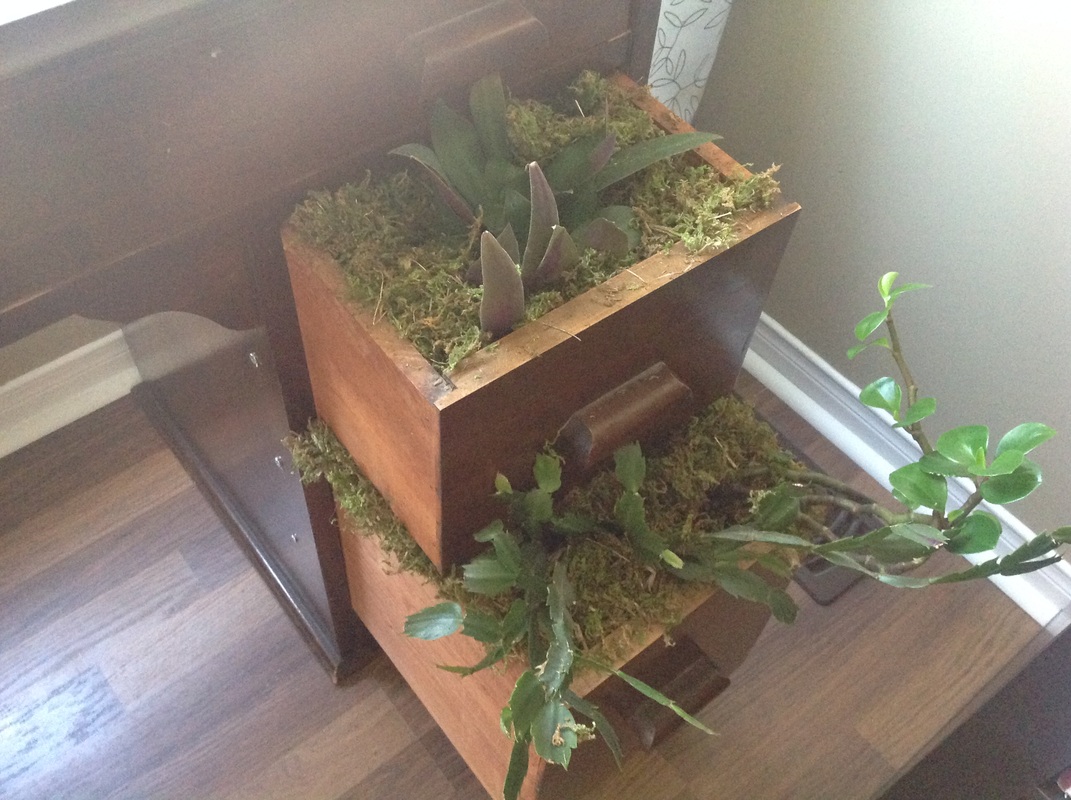 So day two was really just about finishing touches. I went back to the dollar store and bought some decorative moss to cover the tops of the bottom drawers, I think it turned out great, I'm so happy with the result. You'll have to forgive the poor quality of my after pictures. Unfortunately the sun and light did not want to work with the ipad, which is how I take these pictures. Each one was either dark or grainy, so please bear with me! 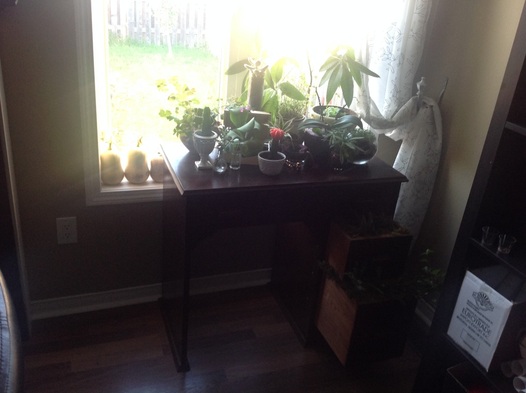 After - frontview - 26-09-14 - Crappy lighting! This corner is definitely improved. 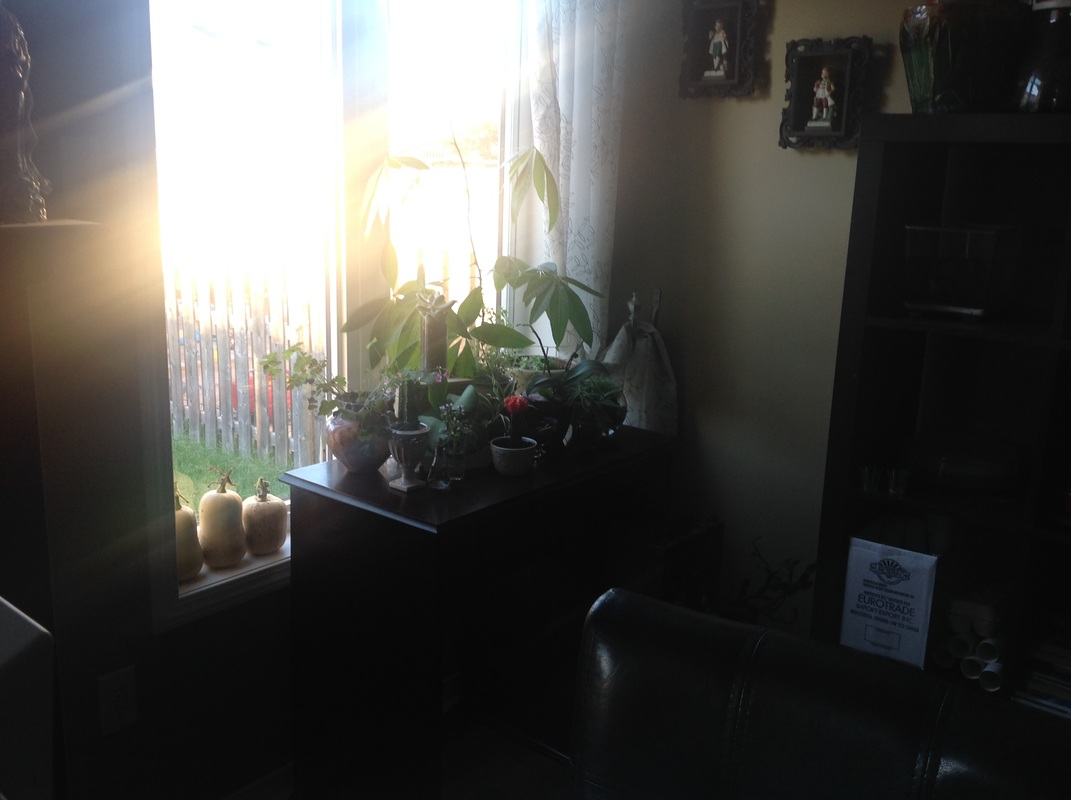 After - diagonal view - 26-09-14 - Let the light shine in! I also took the extra leaves out of my dining table, so there's more space. 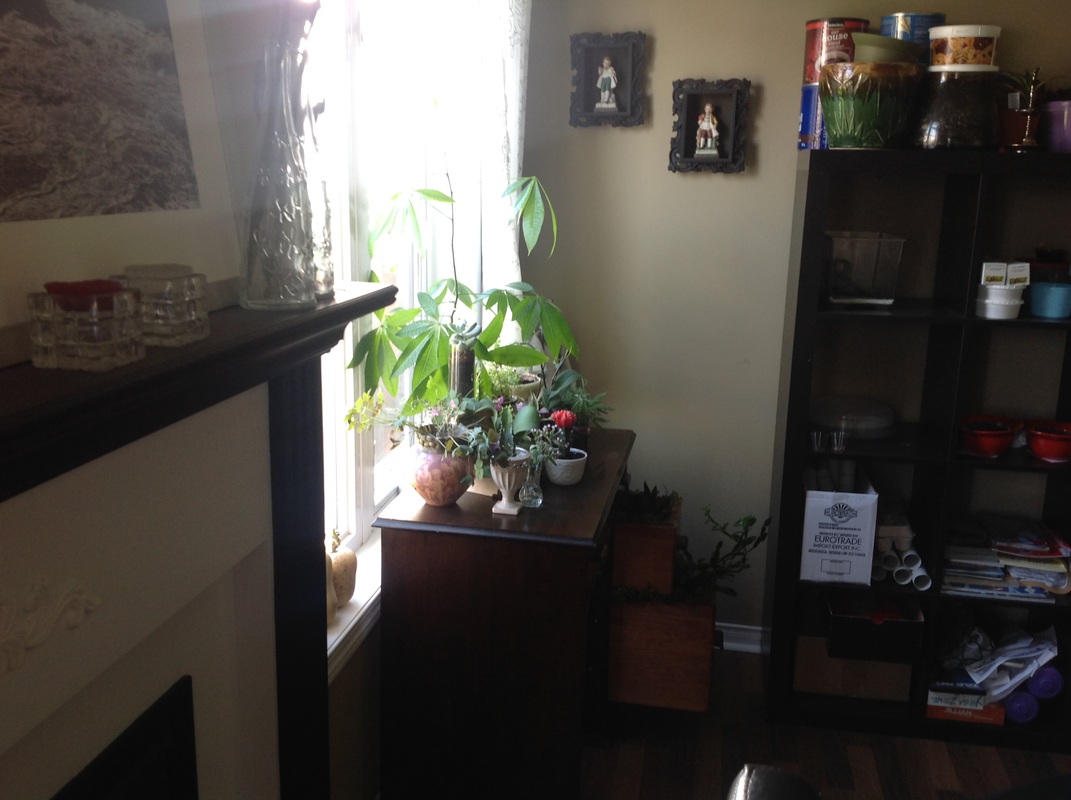 After - sideview - 26-09-14 - at least you can get an idea with this view. Just try to ignore all the junk that requires re-organizing on the right side! All in all, I had a great time re-purposing a forgotten desk that was collecting dust into a unique planter to spruce up a very boring corner of my dining room. I spent about $40 on new plants and maybe $25 at the dollar store for various supplies. Not a bad deal, I'd say. Feel free to leave me any comments... did you love it, hate it, wish the pics were clearer? Feel like trying something like this yourself and there was something I wasn't clear on? Meanwhile, I will leave you with more pics of the plants I used because they're so pretty and I am so happy I have them (except that bloody droopy succulent... I will find you!) 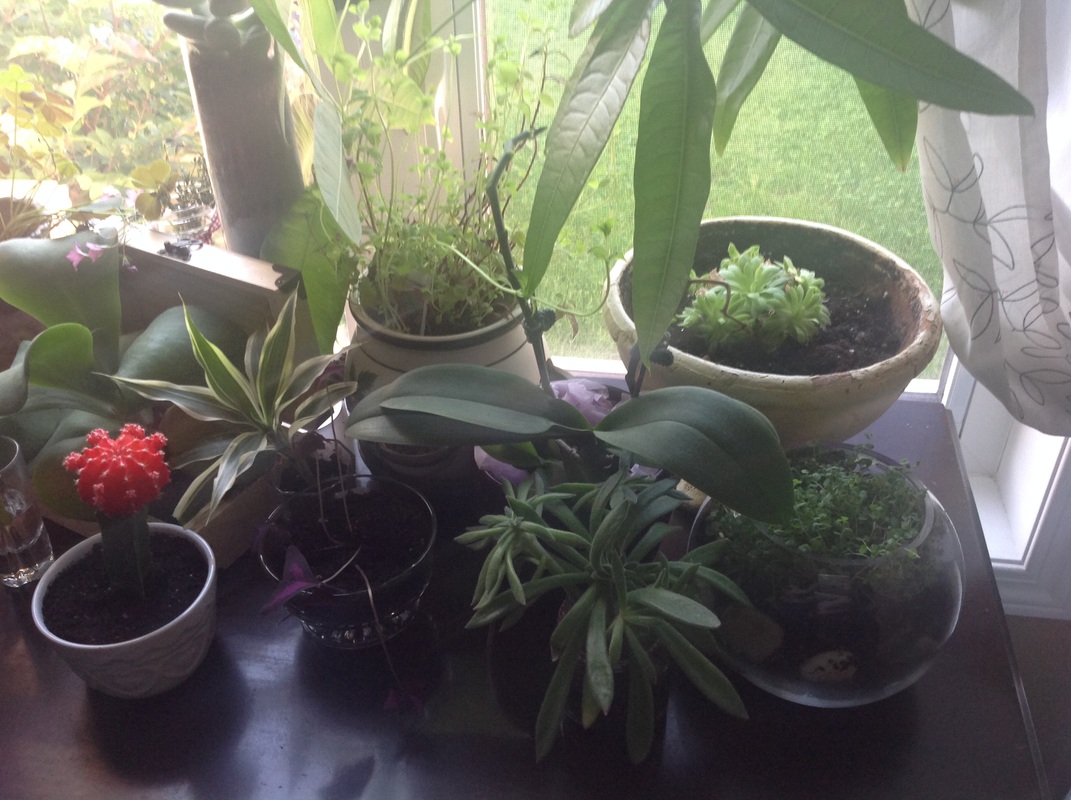 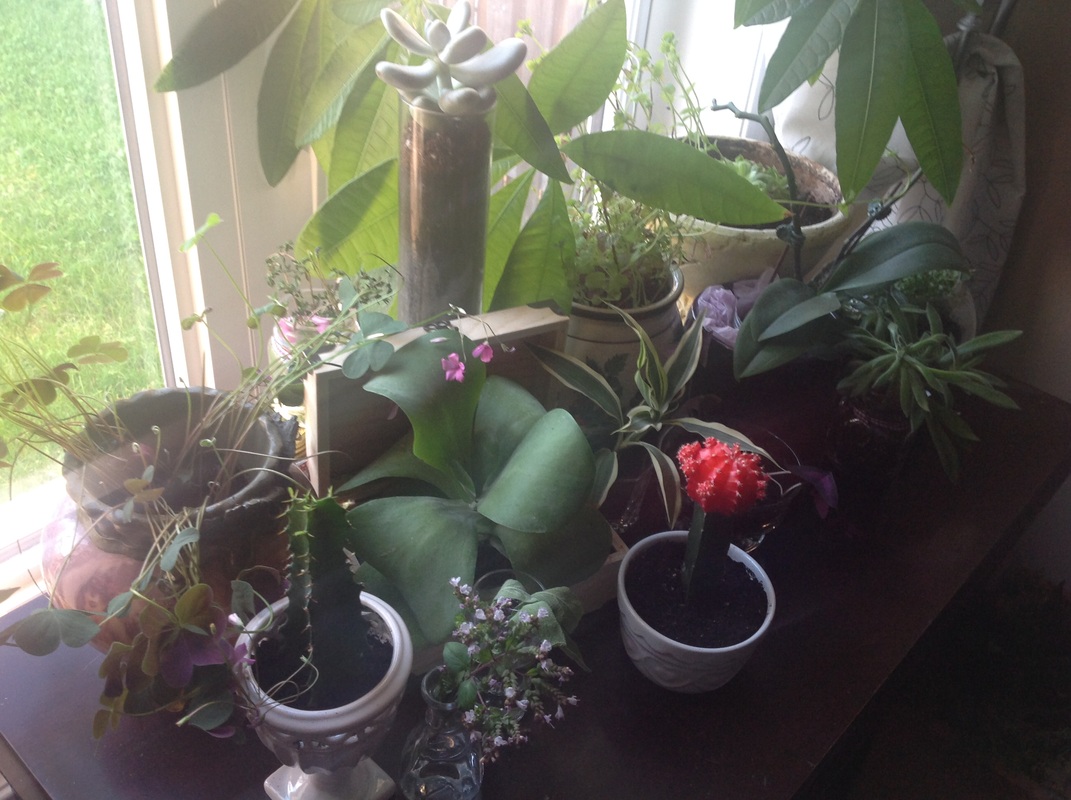 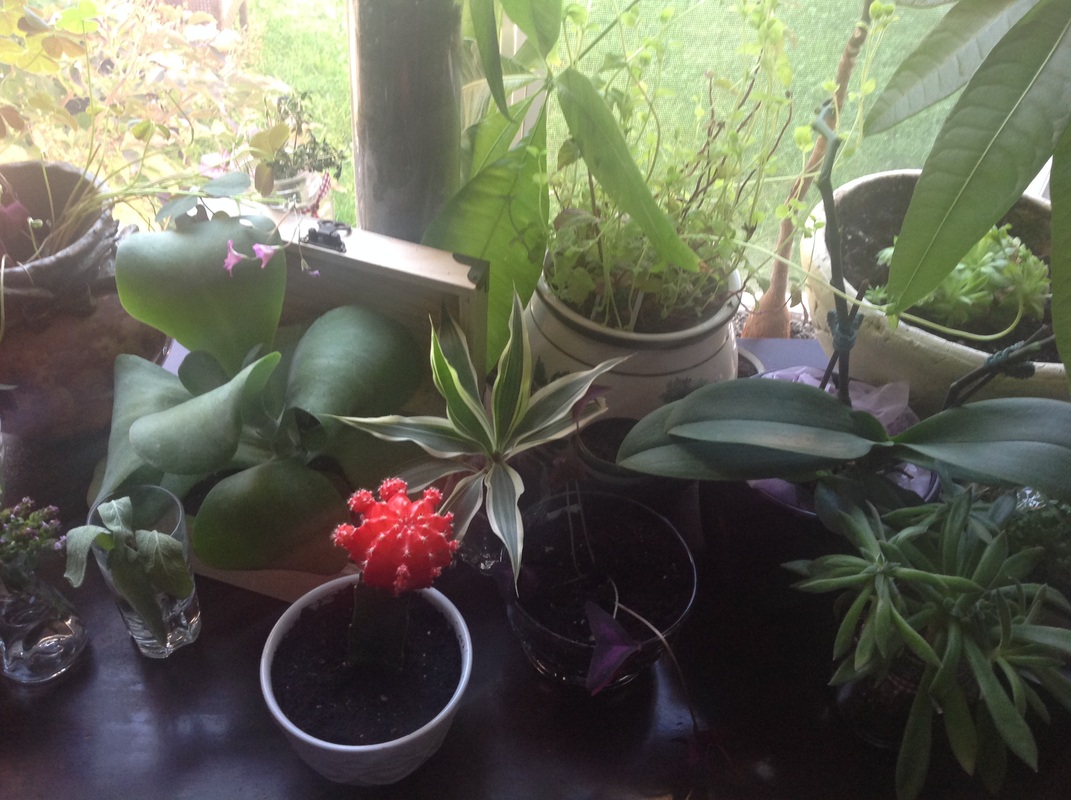 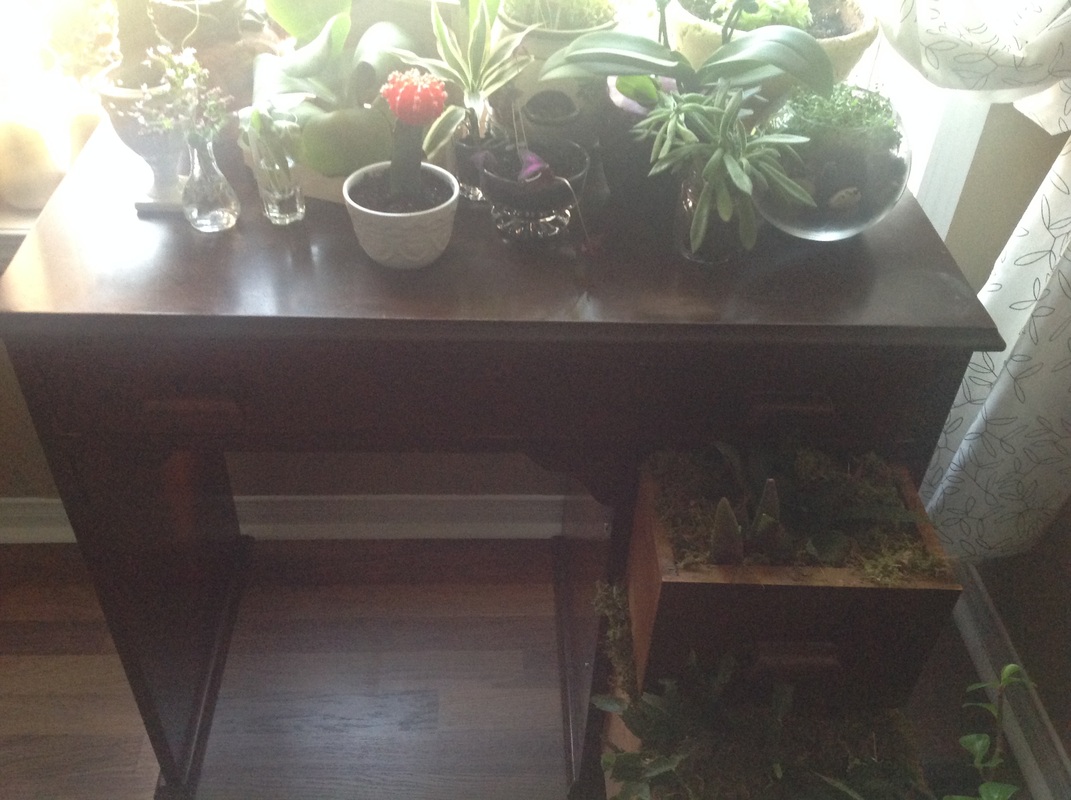 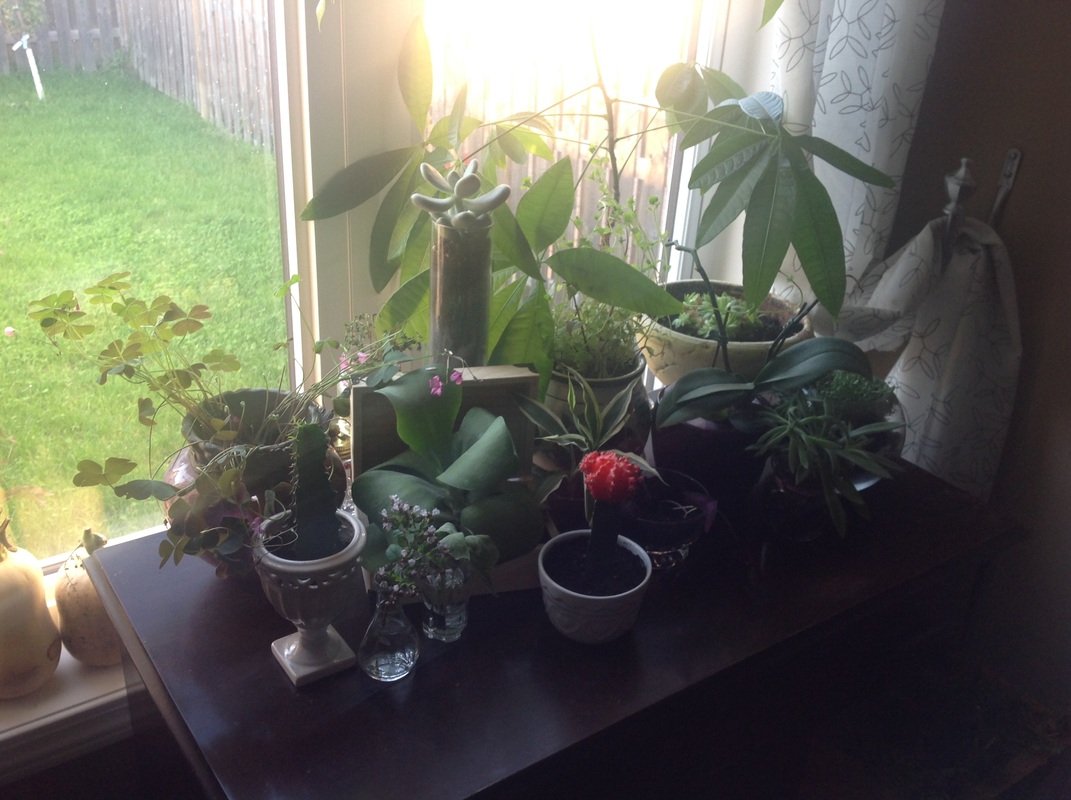 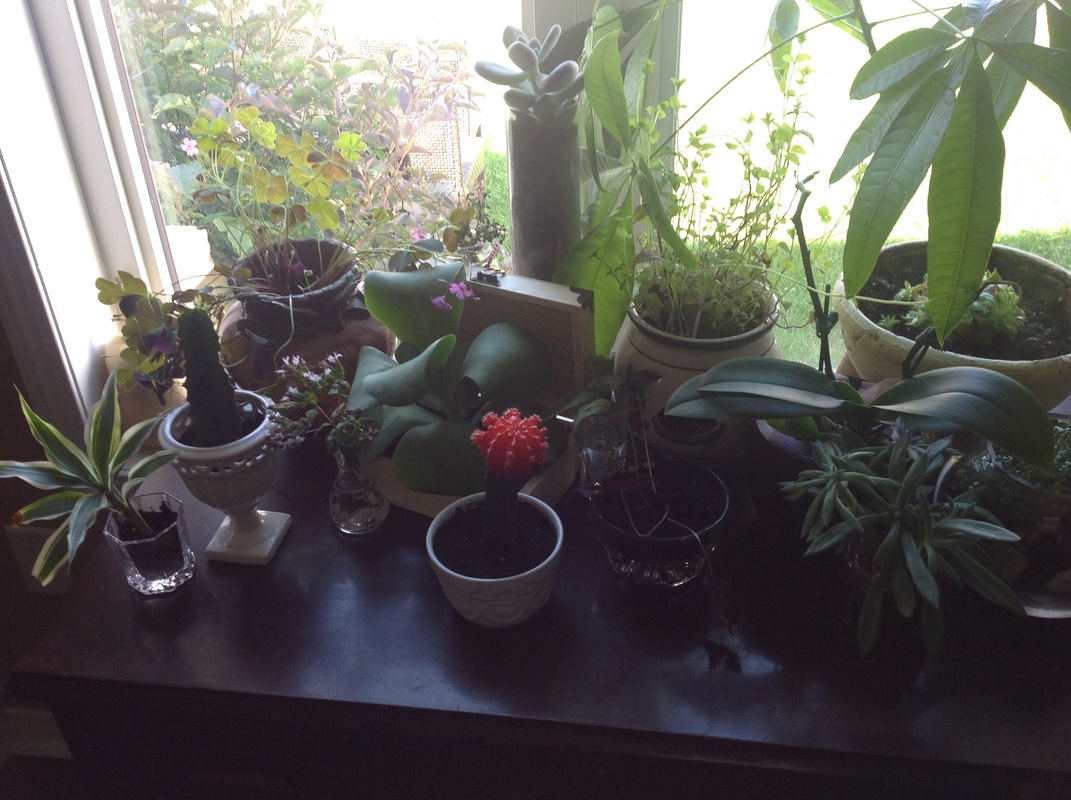 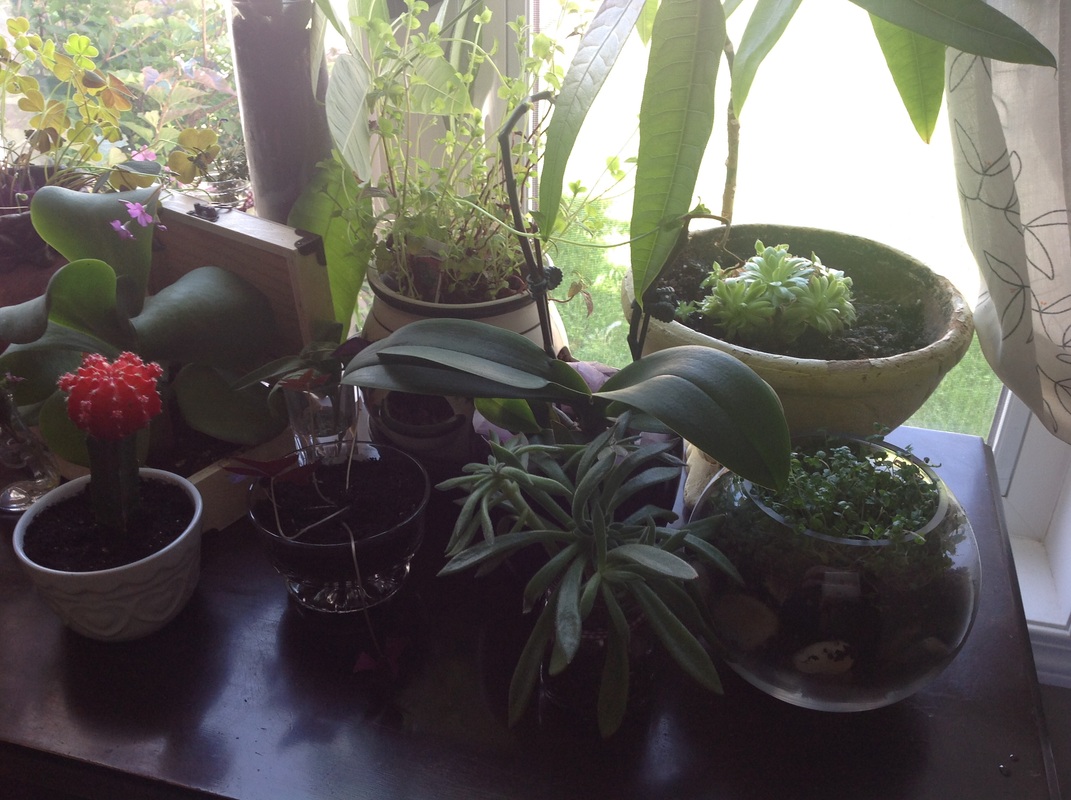
Any & all of my posts may contain ads and/or affiliate links.
I am not sponsored by any of them, and you will not pay anything extra by clicking on them or making a purchase through them.
0 Comments
Your comment will be posted after it is approved.
Leave a Reply. |
AuthorHi! I'm Sonja and I'm glad you're here! I'm happy to share some recipes and gardening tips with you while I let you know about great (or not so great) products, services, and media I encounter. Visit my online shop at MysteriousDragonfyre.com
for Crystals, Herbs, Incense, and other Witchy things! Categories
All
Hey look! You're visitor #
Visit my online shop at MysteriousDragonfyre.com
for Crystals, Herbs, Incense, and other Witchy things! |